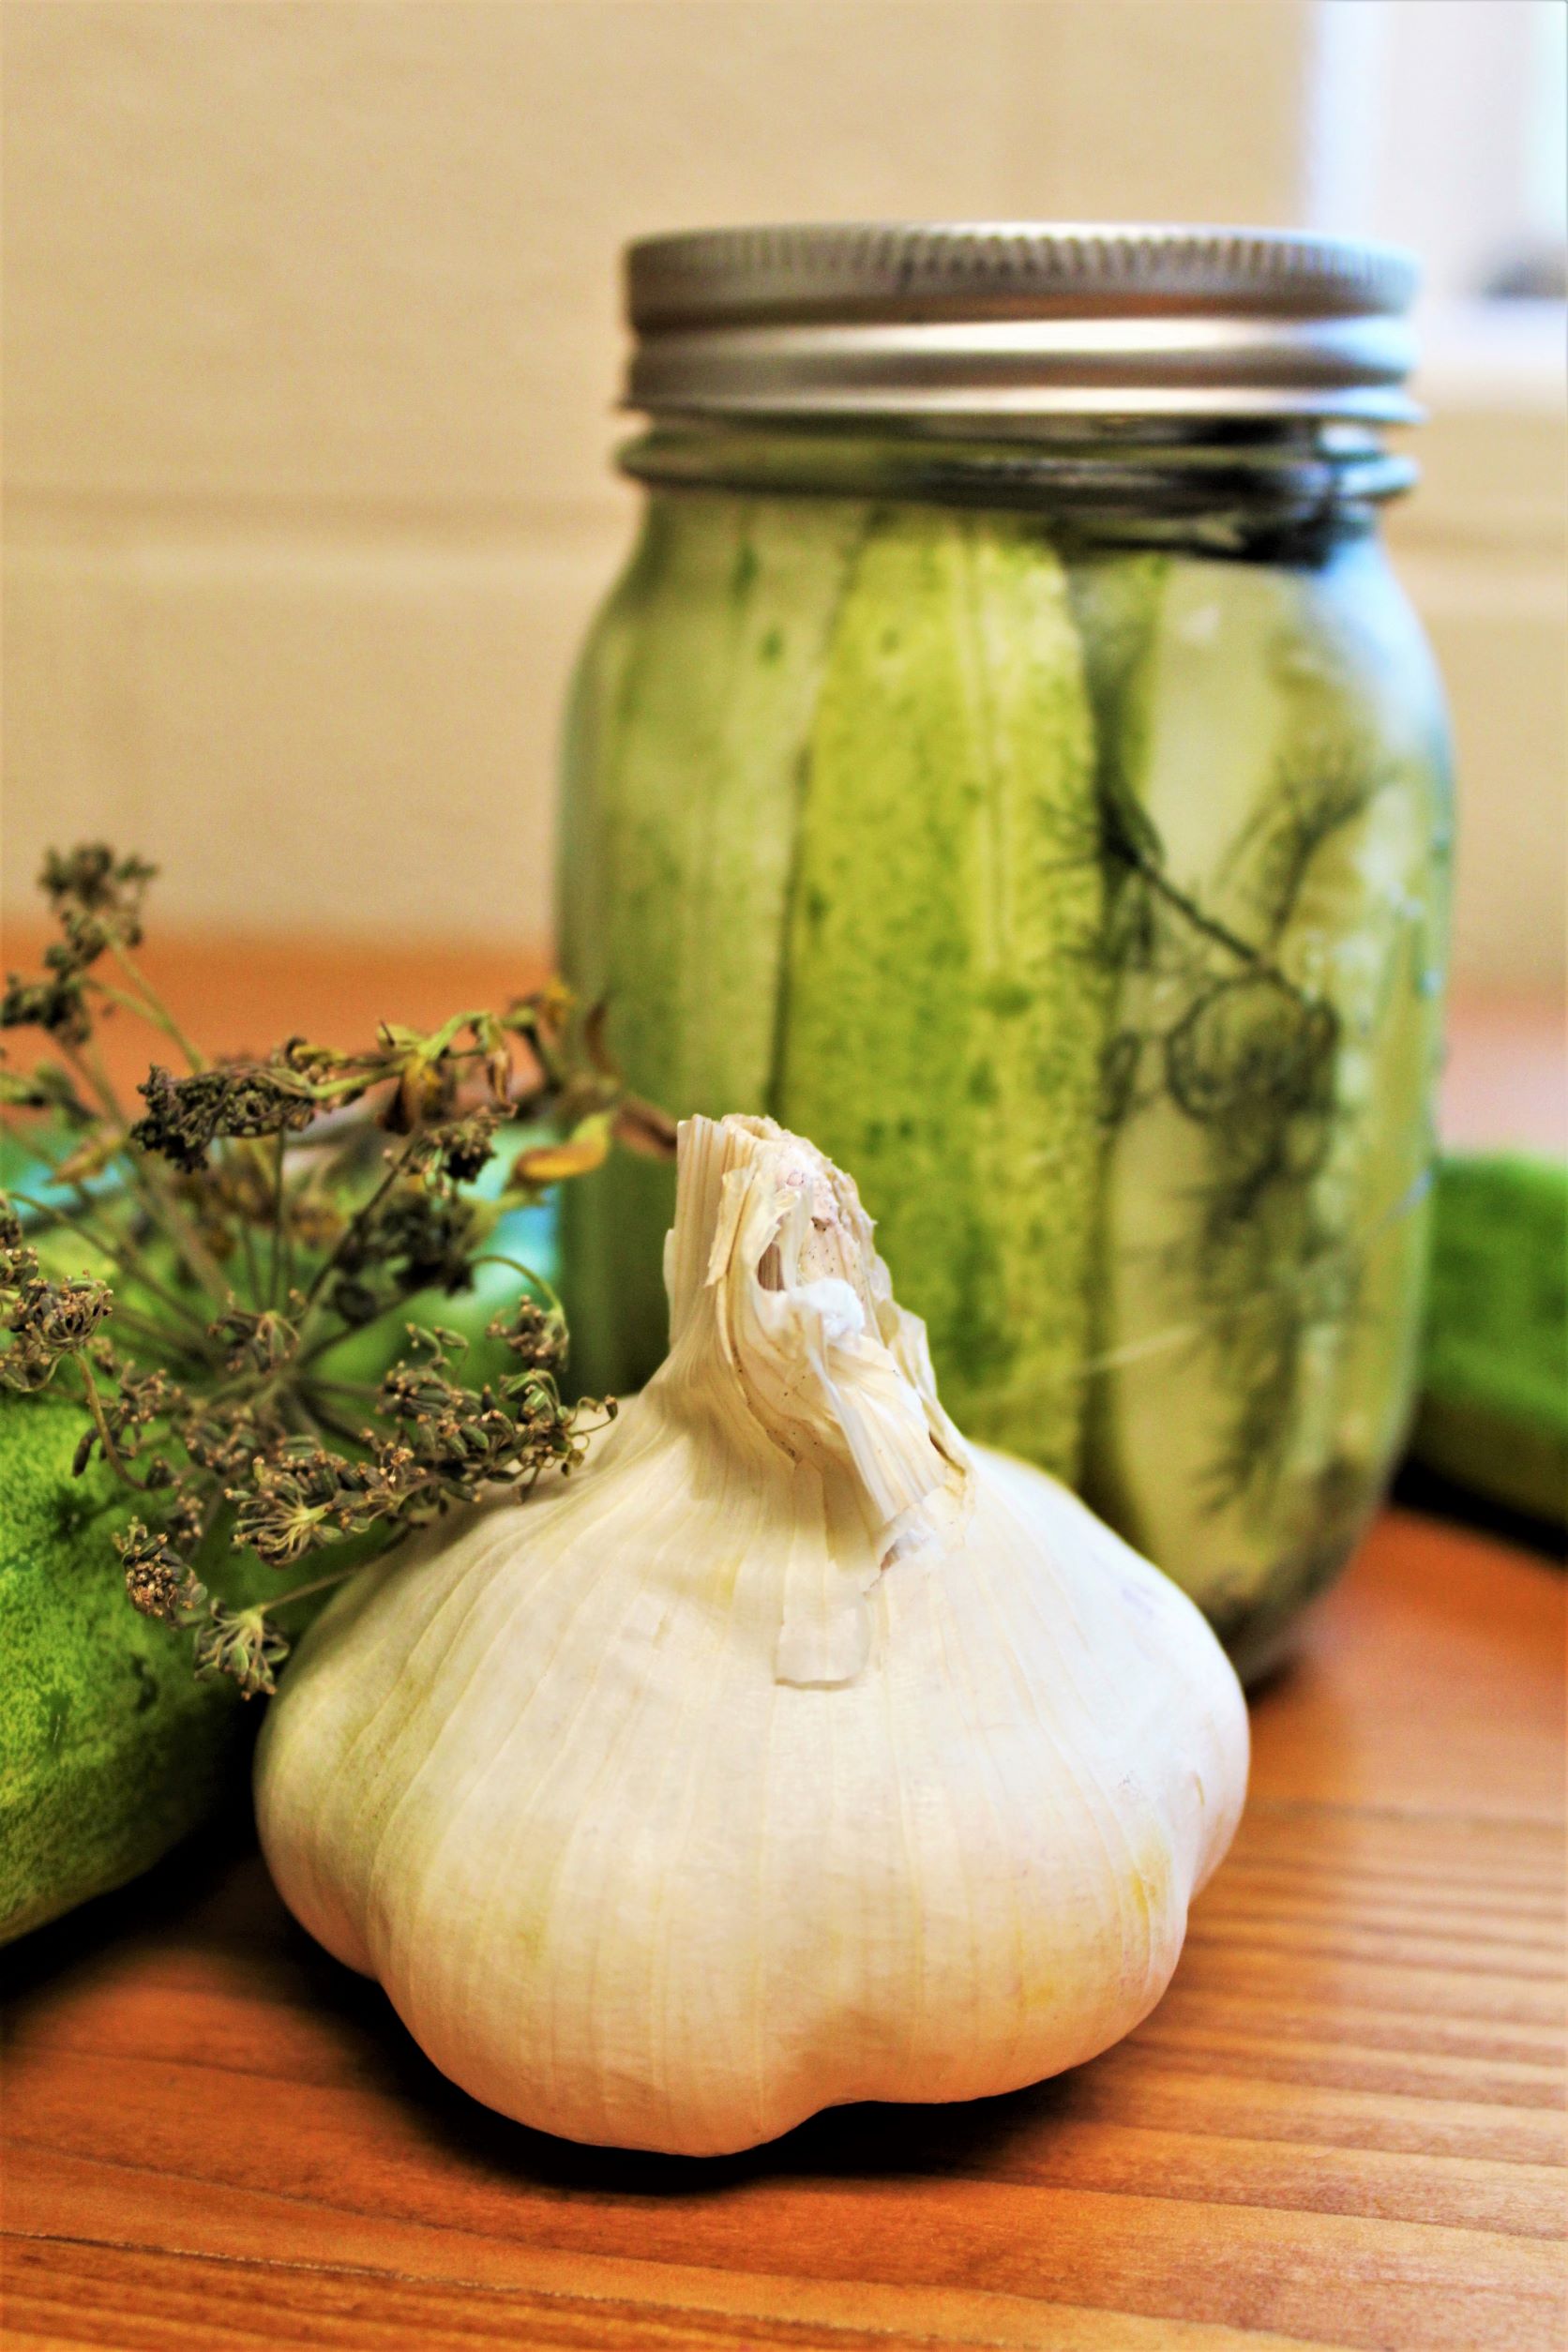
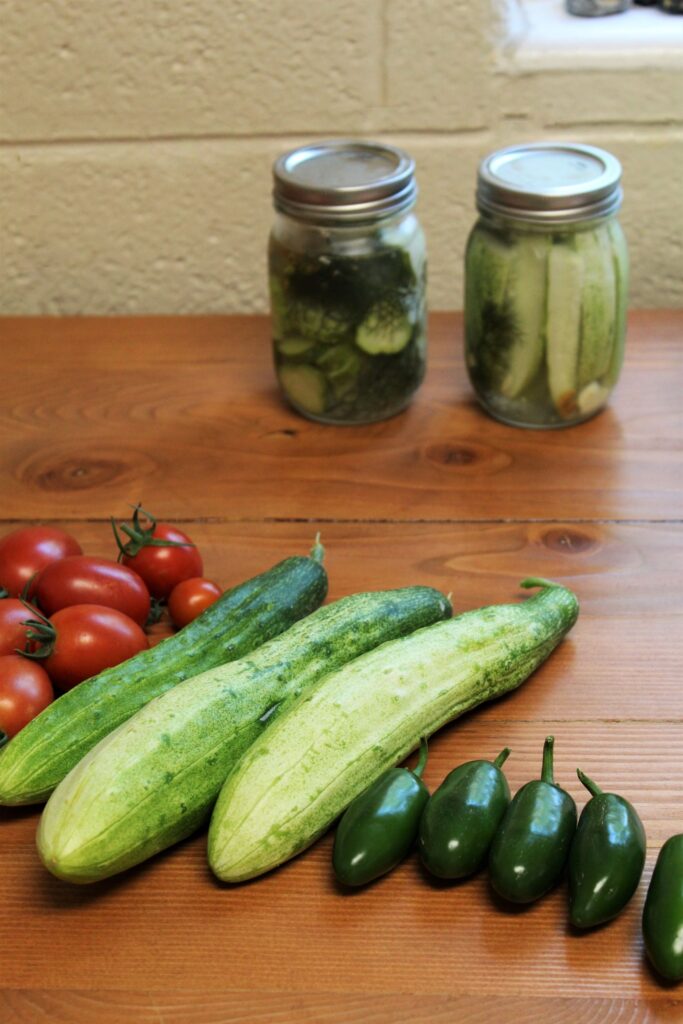
Do you have a surplus of garden cucumbers this year? If you have too many cucumbers for your family to eat and enjoy the sour crunch of a dill pickle, these refrigerator dill pickles are for you! Let me just say, this recipe will throw those store bought pickles OUT OF THE WATER! And the best part? It took me about 10 minutes to make them.
This recipe is great for those wanting to try homemade pickles without committing to the canning process. I just canned for the FIRST TIME this week, and while it went well, not canning is also nice!
Pros of making refrigerator dill pickles:
These are so fresh! They maintain their beautiful green color and delicious crunch because you don’t have to heat them like you do in canning.
Great for smaller batches of pickle making. Have just one or two extra cucumbers? Make a couple jars of pickles!
They keep in the fridge for a long time! That salt and vinegar is going to keep those babies nice and preserved. Just know that after several months the garlic flavor might begin to get overbearing. 3-4 months is probably ideal to use these up.
No need to turn on the stove in the middle of summer. That is one thing I didn’t love when I was water bath canning jam for the first time this week. I chose a rainy day and I was still DYING at the end of it.
You can also use any container you like and any lid. If you have used canning lids, you can re-use those for these pickles! Glass jars from other store-bought items? Throw some homemade pickles in there! You don’t need special canning supplies with these.
These are also a great use for bitter cucumbers. There is so much variation in cucumber flavor, but throwing in some garlic, vinegar, and dill with the bitter ones made them delicious!
When to make canned pickles instead:
If you have a HUGE batch of ripe cucumbers from the garden. Cucumbers coming out of your ears? You might want to pickle and can them all at once.
You just don’t eat pickles that often. If you only go through pickles occasionally, you may prefer to can a big batch all at once, then pull from it gradually. Know that your pickle consumption habits might change after you try these homemade refrigerator dill pickles. My kids were devouring these!
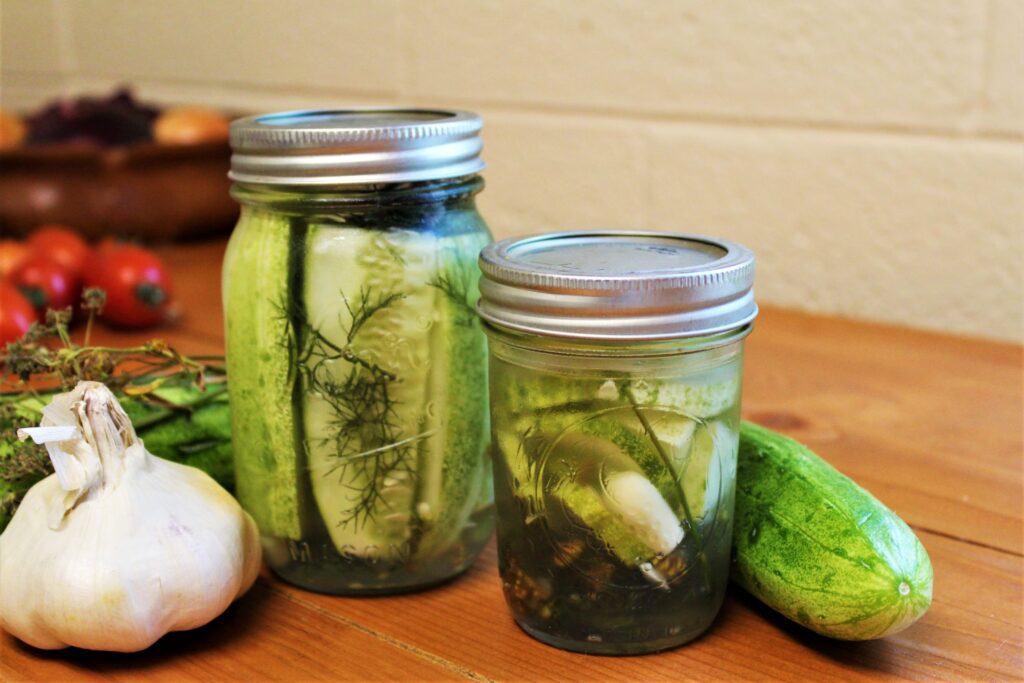
How to Make Refrigerator Dill Pickles?
This is one of the easiest recipes you’ll ever find. Easy recipe, delicious outcome that lasts in the fridge, and everyone will be impressed.
Here’s all you need:
Cucumbers (as many and whatever variety you like)
Whole Cloves Garlic
Fresh Dill
Salt
White Vinegar
Water
That’s it!
Here’s how I made my super easy homemade refrigerator dill pickles. (Recipe for a single pint jar, adjust according to how many you do)
Chop cucumbers according to preference. If doing spears or whole pickles, make sure they will fit in your desired jar.
To the bottom of clean jar, add 1-2 half or quartered garlic cloves (2 will give a more potent garlic flavor)
You can also throw in a sprig or two of dill leaves and/or seed heads.
Next, pack your jar full of sliced pickles. You can pack them in tight.
Pack a few sprigs of dill around the sides and on top.
Mix 1/2 TBSP salt with 1/2 c. white vinegar. Pour over cucumbers in the jar.
Fill the rest of the jar up with water (make sure the cucumbers are completely covered)
Close tightly and shake well to help the salt dissolve.
That’s it! Your refrigerator dill pickles are done. With canned pickles they usually say to wait a couple weeks, but with these you can eat them the next day if you want! We tried ours one day later and they were DELICIOUS. I’m super excited to see how the flavor develops over time.
I’m super excited about these refrigerator dill pickles. I plan to give them as birthday gifts for some August birthdays in my family… what better gift than something 100% garden fresh and homemade? We love giving homemade gifts and I’m so excited about these!
Refrigerator Garlic Dill Pickles
Equipment
- Glass Jar or Container
Ingredients
- cucumbers sliced to fill jar
- 1-2 garlic cloves halved or quartered
- 3-4 dill sprigs and seed heads
- 1/2 TBSP salt or pickling salt plain salt without any additives
- 1/2 cup white vinegar
- water to fill the rest of the jar
Instructions
- Slice cucumbers according to your preference. Slice, spear, or whole
- Half or quarter garlic clove(s). Two large or one smaller clove, according to preference
- To clean empty jar, add garlic cloves and 1-2 sprigs of dill leaf
- Pack jar with prepared cucumbers
- Stuff a few more sprigs and heads of dill around the sides and on top of cucumbers
- Combine salt with vinegar, then pour over cucumbers
- Fill the rest of the jar with water, until cucumbers are completely submerged
- Close tightly and give your jar a good shake. These can be eaten in as soon as one day or up to 3-4 months in the fridge for best flavor!
- **Please remember that these are NOT shelf stable, as they have not been canned. Do not keep these on the shelf, they should keep for several months in the fridge.**
I loved making these pickles for many reasons. I love skipping processed foods. I love the feeling and the satisfaction of growing things myself. The idea that I grew these cucumbers, harvested the dill, and got these garlic heads from the farmer’s market fills me with excitement about connection with the earth and with my community. These little pickles are so much more than a food to eat. They are full of loving time, energy, and effort. They are full of my own local sunshine and water supply. They traveled feet from garden to table to refrigerator. That makes me feel happy.
Looking for more fresh garden recipes? These are some of my other favorites!
