So lately I have been in a jam making phase. I had never even attempted to make jam (but always wanted to) until we had blackberries on sale for 50 cents a package! That’s like dirt cheap for blackberries. As we piled our cart with blackberries, I decided to give jam-making a try!
At this point I’ve only attempted freezer jam because I’ve never canned before and don’t feel ready to dive into it just yet. I also love that I can choose not to cook my freezer jam recipes, which can contribute to a fresher flavor (like my blackberry freezer jam recipe!) Freezer jam gives me yet another use for my empty baby food jars (and other empty jam/peanut butter/you-name-it jars). You know I love finding ways to use my baby food jars!
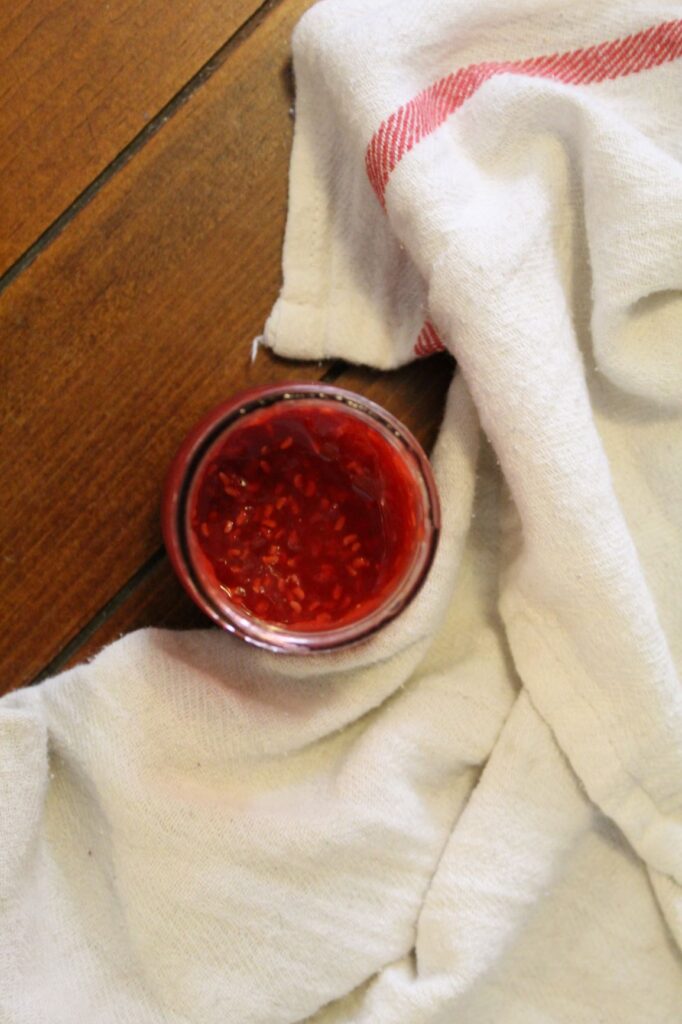
Baby food jar jams are the best size for picnics, camping trips, and GIFTS! If your freezer jam recipe isn’t made to keep for a long time, these little jams are the perfect size to be used up within a week or two. Hands down, baby food jars are my FAVORITE jar for freezer jam. But a fun thing about freezer jam is that the sky is the limit on containers you can use!
But now for the best part of all… the deliciously sweet, slightly tart, freshest tasting raspberry jam ever.
I’m a little picky about my jams.
I don’t like them too sweet and most jam recipes seem to call for LOTS of sugar. Like more sugar than their is fruit. I don’t love a super thick, jelly-like jam either. I like my jam to spread easily (I don’t mind if it’s a little runny if the flavor is there) and I like it to taste as close to the fresh fruit as possible.
So how do I get that result?
With berry jams, I think the best thing is to mash the berries rather than blend them. Mashing makes it more jam-my whereas blending makes more of a jelly-like consistency. I’m definitely more of a jam girl!
Limiting the amount of sugar. This recipe actually just uses honey instead of sugar!
Using less pectin. I’m still experimenting with pectin measurements in my jam recipes. This one actually doesn’t use ANY pectin. Cooking the raspberries and other ingredients allows for the jam to thicken up on its own. Fruit produces its own pectin (the stuff that helps jam to thicken). So depending on the fruit and the consistency you’re aiming for, you may not always need it in jam recipes!
Why make your own jam?
It’s delicious. Fresher and much more satisfying knowing that you made this. It’s healthier. You can control the amount of sugar. You control ALL the ingredients. You get delicious jam without all the additives that the big manufacturers put in for preserving and color. No high fructose corn syrup. This is as real as it gets.
You can also reduce waste by making your own jam. Rather than buying yet another jar that will most likely end up in the landfill, you can reuse an empty jar!
Homemade is definitely the way to go 😉
If my words haven’t sold you, make this recipe once and you will get it. I’m never going back!
Easy Raspberry Freezer Jam – Without Pectin or Sugar
Equipment
- Recycled (empty) Glass Jars
Ingredients
- 4 cups fresh raspberries
- 1 cup honey (may use 1/2 cup less or more, too taste)
- 2 tbsp lemon juice
- 2 tbsp pectin (OPTIONAL) you really don't need this, but you can add it if you want your jam a little thicker.
Instructions
- Add raspberries, honey, and lemon juice to a pot bring to a slow boil over medium-high heat.
- While your ingredients are heating up, prep your jam jars. I like to lay mine out on a cookie sheet so it catches any spills.
- As the mixture begins to boil, turn to medium heat and stir for 10-20 minutes while the jam thickens. The jam should begin to thicken at this time, but don't worry if it's not to your desired thickness. It will thicken as it cools as well!
- If you like a slightly thicker jam, add pectin and stir well until it is dissolved into the fruit mixture (OPTIONAL).
- Once you feel good about the thickness of your jam (remember, it will thicken more as it cools), carefully pour the jam into prepared jars. If the jars are cold, you may want to warm them by filling them with hot water beforehand, so they don't break upon contact with the hot jam!
- *Be sure to leave some space at the top of your jars for the jam to expand when you freeze it. I leave about 1/4 " at the top of my baby food jars, 1/2" for larger jars.
- Tighten the lids of your jars and allow the jam to cool to room temperature before moving it to the fridge. Refrigerate for 12-24 hours, then transfer to the freezer OR break one open and try it out on some fresh homemade bread ♥