I have always LOVED collecting seashells along the beach. I always dreamed of a romantic stroll on the beach while collecting seashells- yes, it’s on the bucket list I made in high school 😉 . I also think that seashells might be the BEST free souvenirs you can take home with you. Plus.. they carry all those happy beachy memories with them. What could be better??
While I absolutely love collecting as many seashells as I can, I am also working hard to clear our home of clutter. I don’t want stuff sitting around on coffee tables and bookshelves where little baby and (soon to be) toddler hands can pull them down. With that in mind, I try to get creative on how to display my seashells and other souvenirs and nature collections without the clutter and without being in reach of tiny hands.
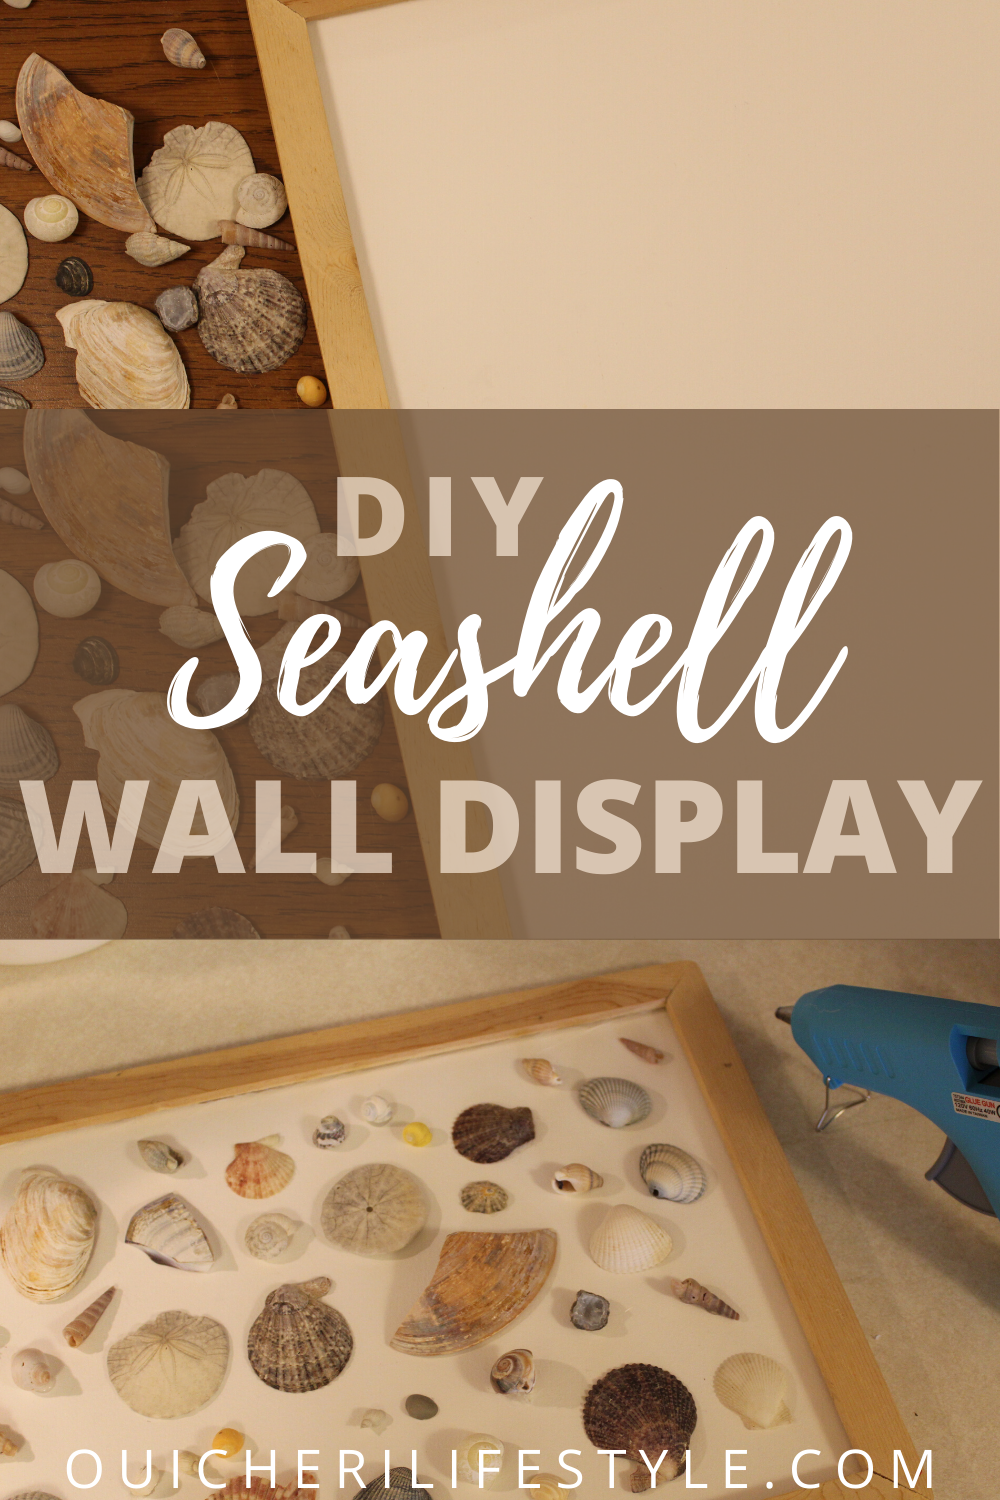
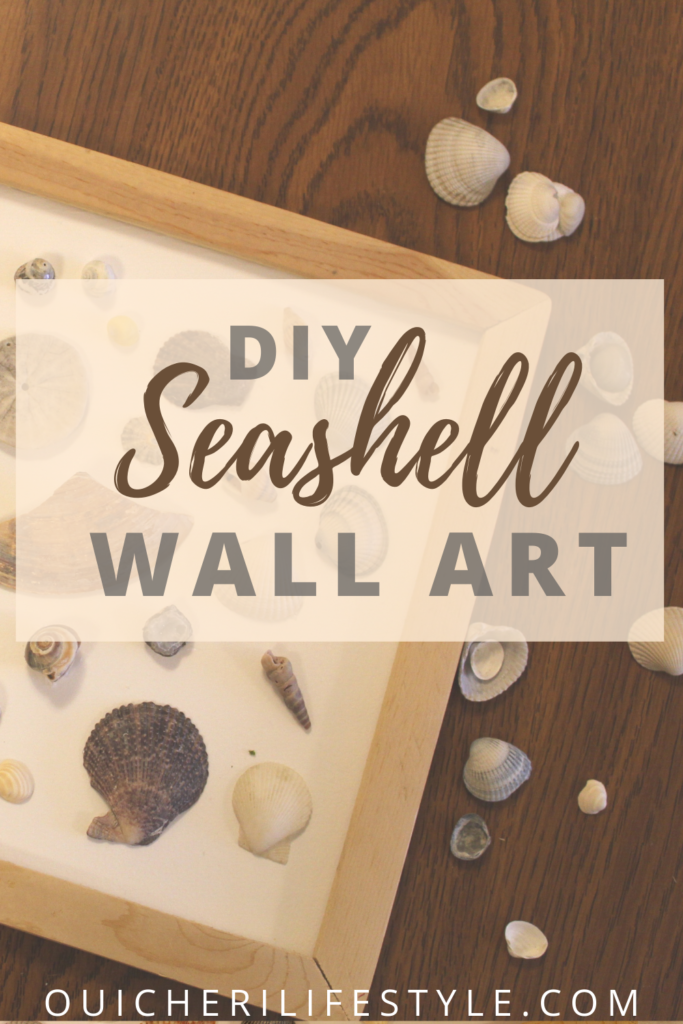
That’s why I’m so excited about this seashell wall art I created for my souvenir shells. Not only does it display my seashells beautifully, but it is out of the way and only takes up wall space (which we’ve got plenty of :). I think the more on our walls (within reason 😉 ), the more homey our space feels. So bring on the diy wall art!
Another great thing about this diy wall art? It was made entirely from natural and recycled materials (minus the hot glue). This means it’s free, sustainable (doesn’t contribute to waste but helps reduce waste!), and looks AWESOME. Here we go.
Materials Needed:
Collection of Seashells and other beachy memorabilia (I love my sand dollars!)
Old Frame with the Glass Removed – whatever size and style fits the look you’re going for. Mine was an unpainted/natural wood.
White Card stock, Poster Board, or Cardboard (I used a scrap of old watercolor paper that was sitting around, but you could easily paint a cardboard box or get some poster board) You just need something sturdy enough to hold all those shells.
Hot Glue Gun and Glue Sticks
That’s it!
Try checking thrift stores for frames and paper for your white background if you don’t have them on hand. I got my frame at our thrift store. I love the look of plain, unstained wood, and knew I wanted it to match the furniture/other frames in bitty boy’s room, so I found this frame that looked perfect for me. Get creative on where you find your products and buy things new as a last resort!
Once you’ve got all your materials, place the white background paper inside your frame (again, you’ll need to take out the glass). I just hot glued my paper to the frame since I’m not planning on separating the two again.
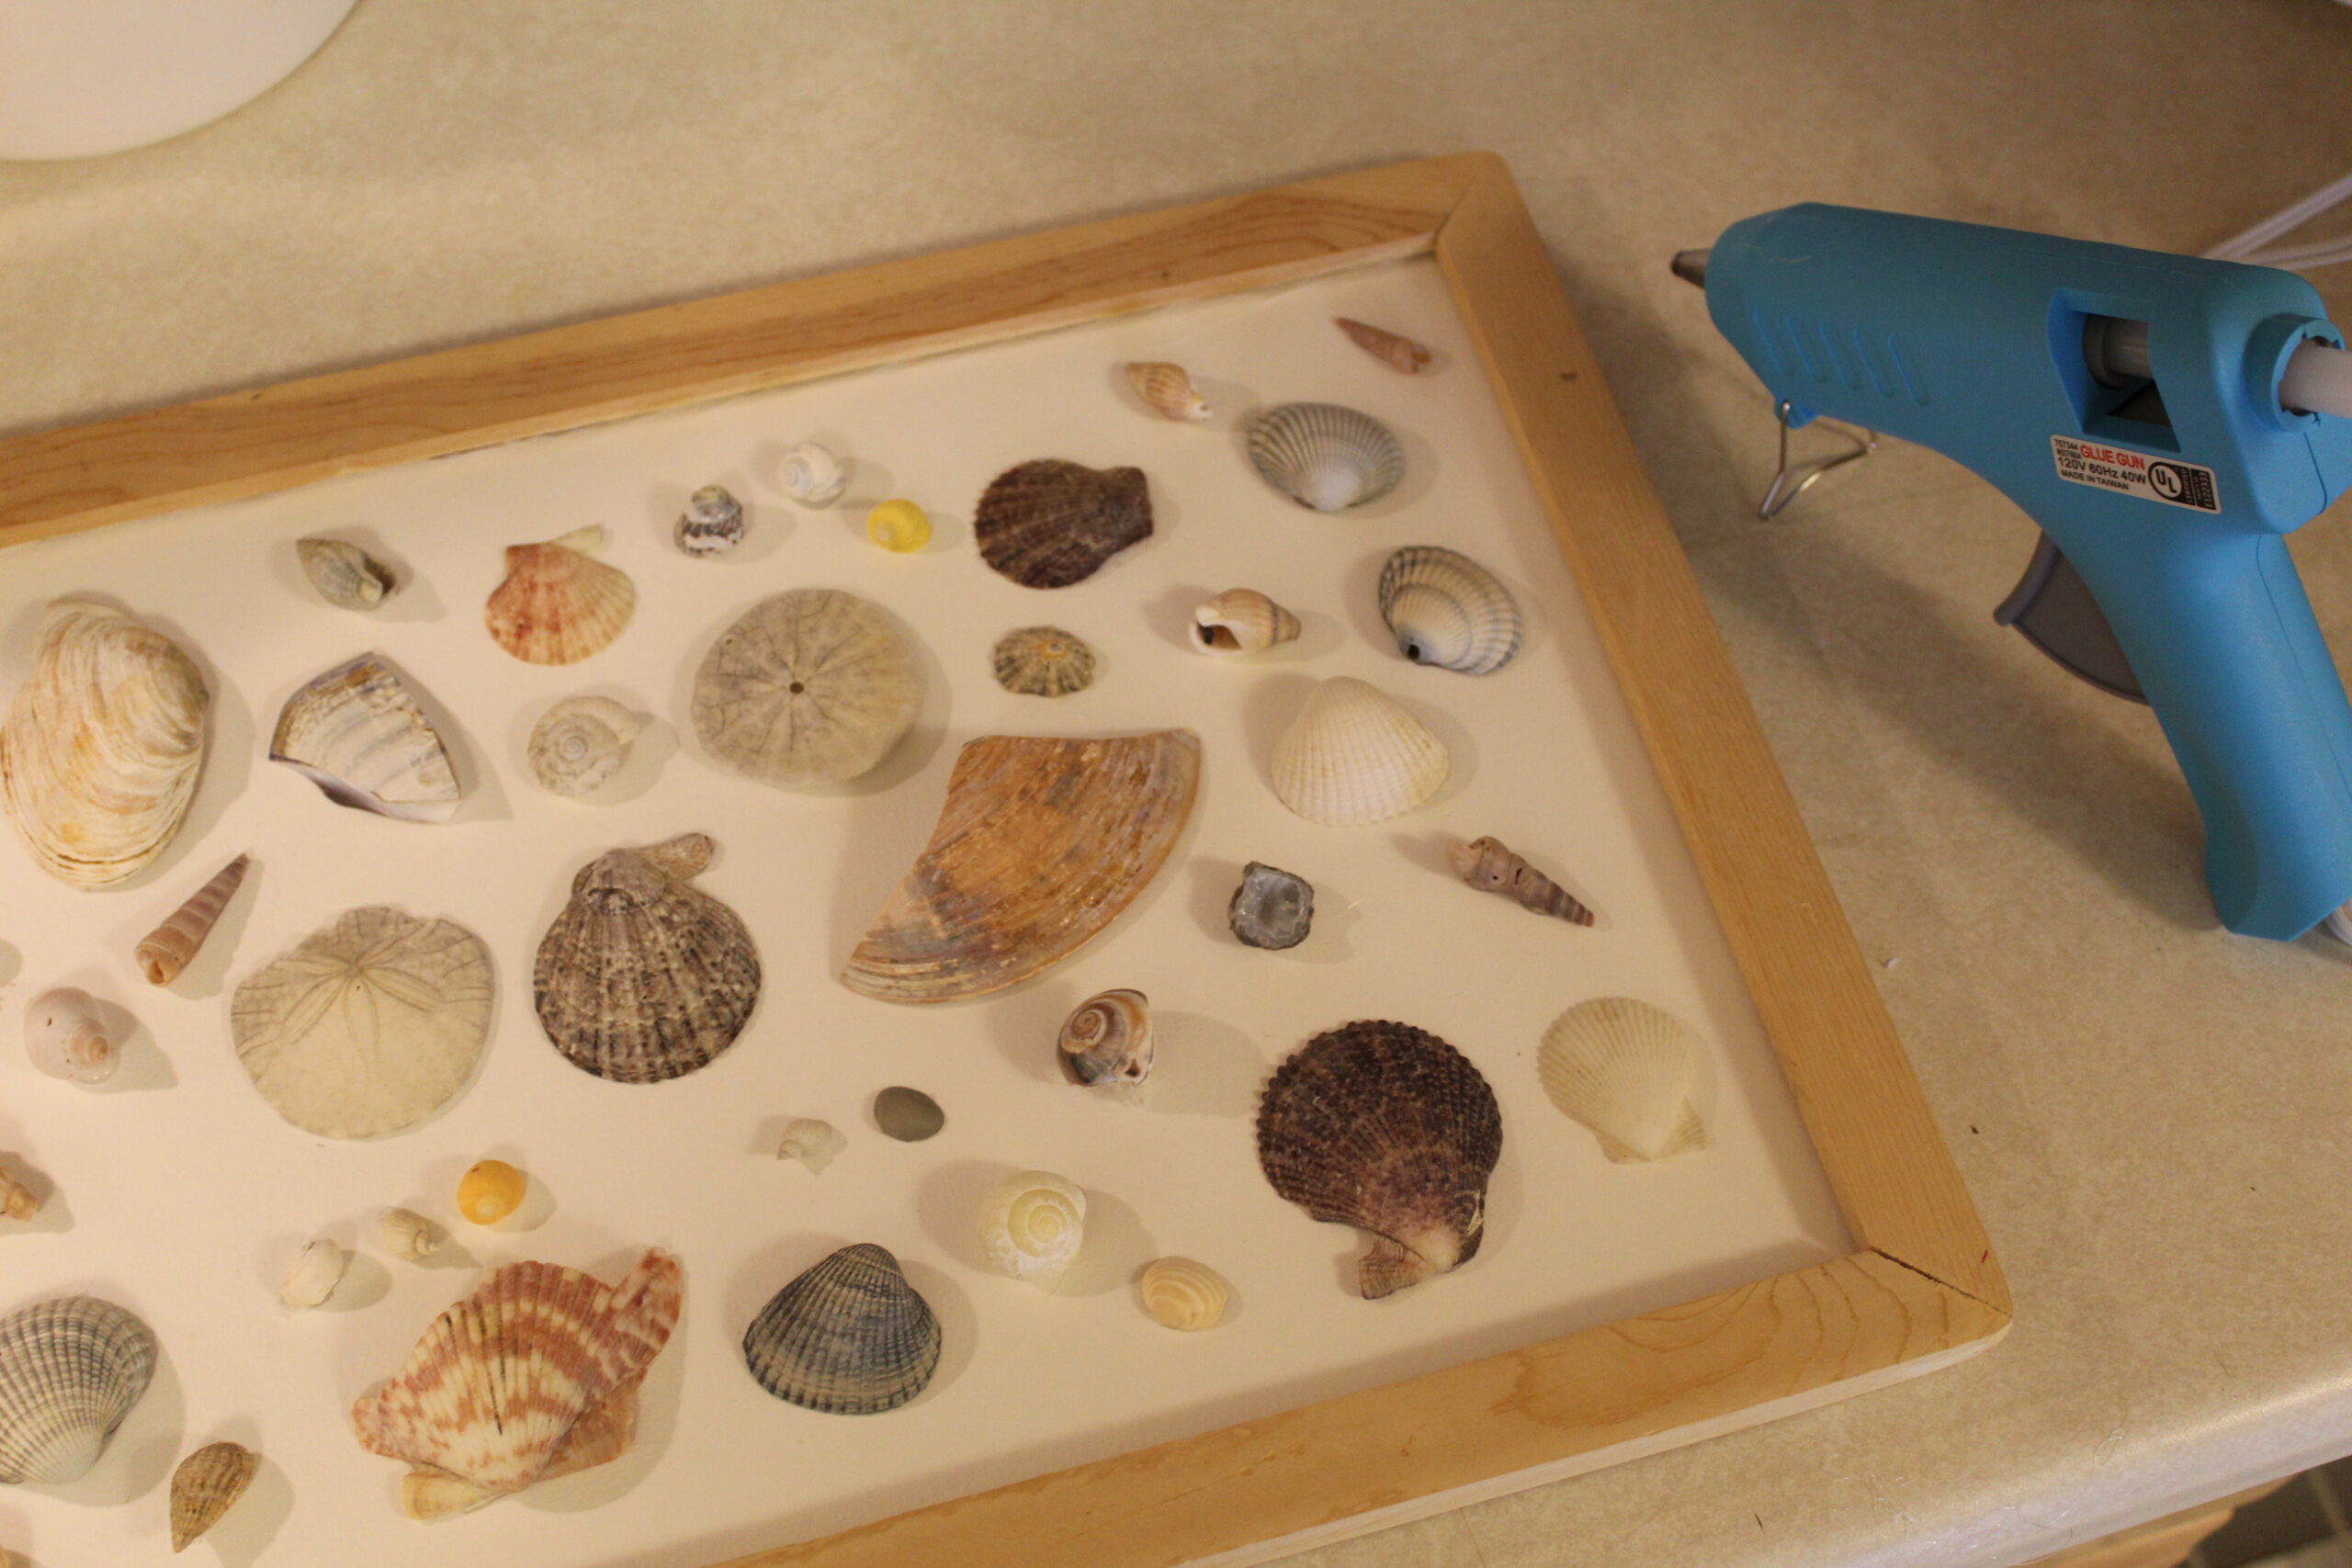
Flip the frame face up and place your shells in whichever way you’d like. Again, you can get creative here. You can go for a random layout like mine, organize by size/type, and even arrange the shells in a pattern/design like this heart shaped seashell wall art by Feeling Nifty.
Once you have the layout planned, carefully hot glue your shells to the white background. Be careful not to burn yourself and try not to let the hot glue show!
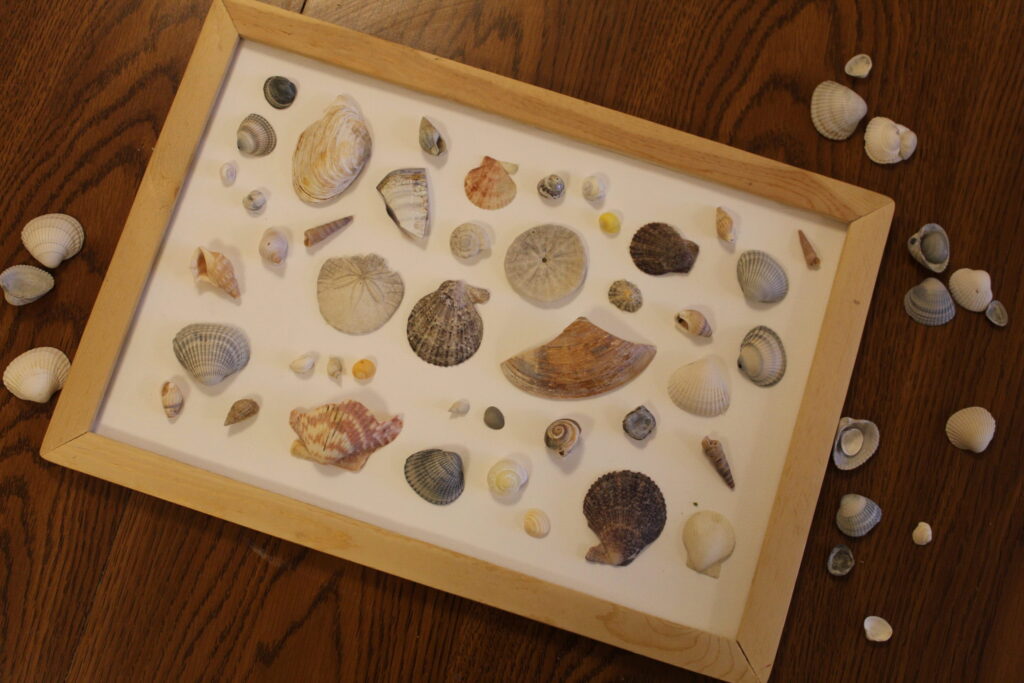
Let the glue dry and your DIY seashell decor is ready to go!
Don’t forget to save this post so you can find it later! Comment below with your fun nature craft ideas for this summer!
Want to read more about sustainability and a more natural lifestyle? Sign up for email updates below!
This is such a fun idea Heather!