So I decided a few months ago to get into candle making. It had never crossed my mind, but you know what finally gave me the idea? Baby food jars! We had so many cleaned out baby food jars and I just didn’t know what to do with them all! Then the idea came to me and I thought that baby food jars would make the cutest little candles.
I’m convinced that I was right.
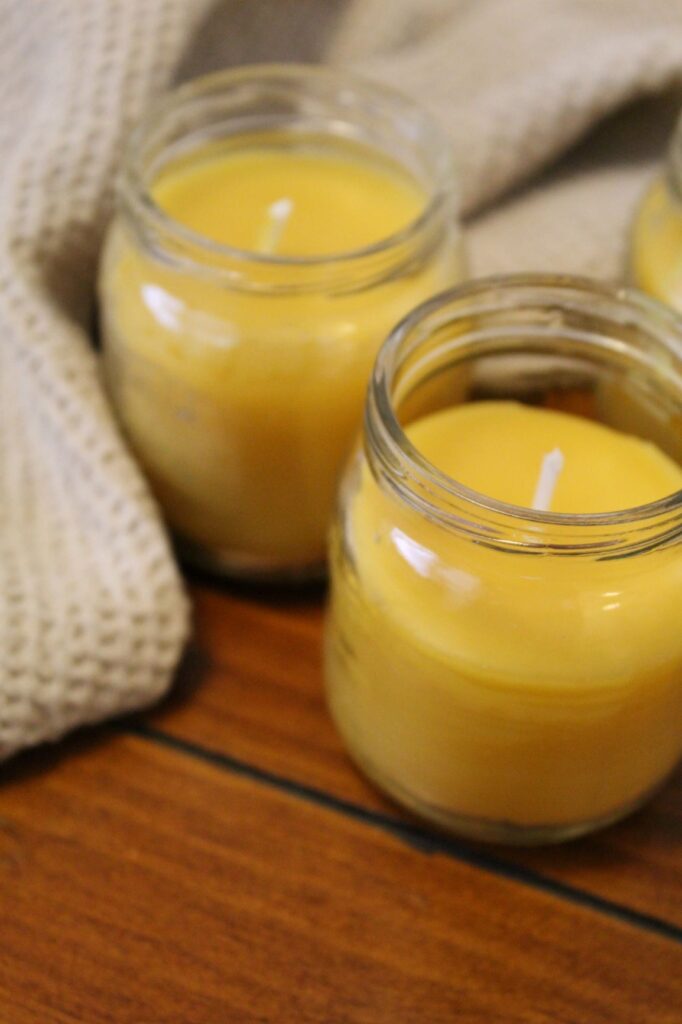
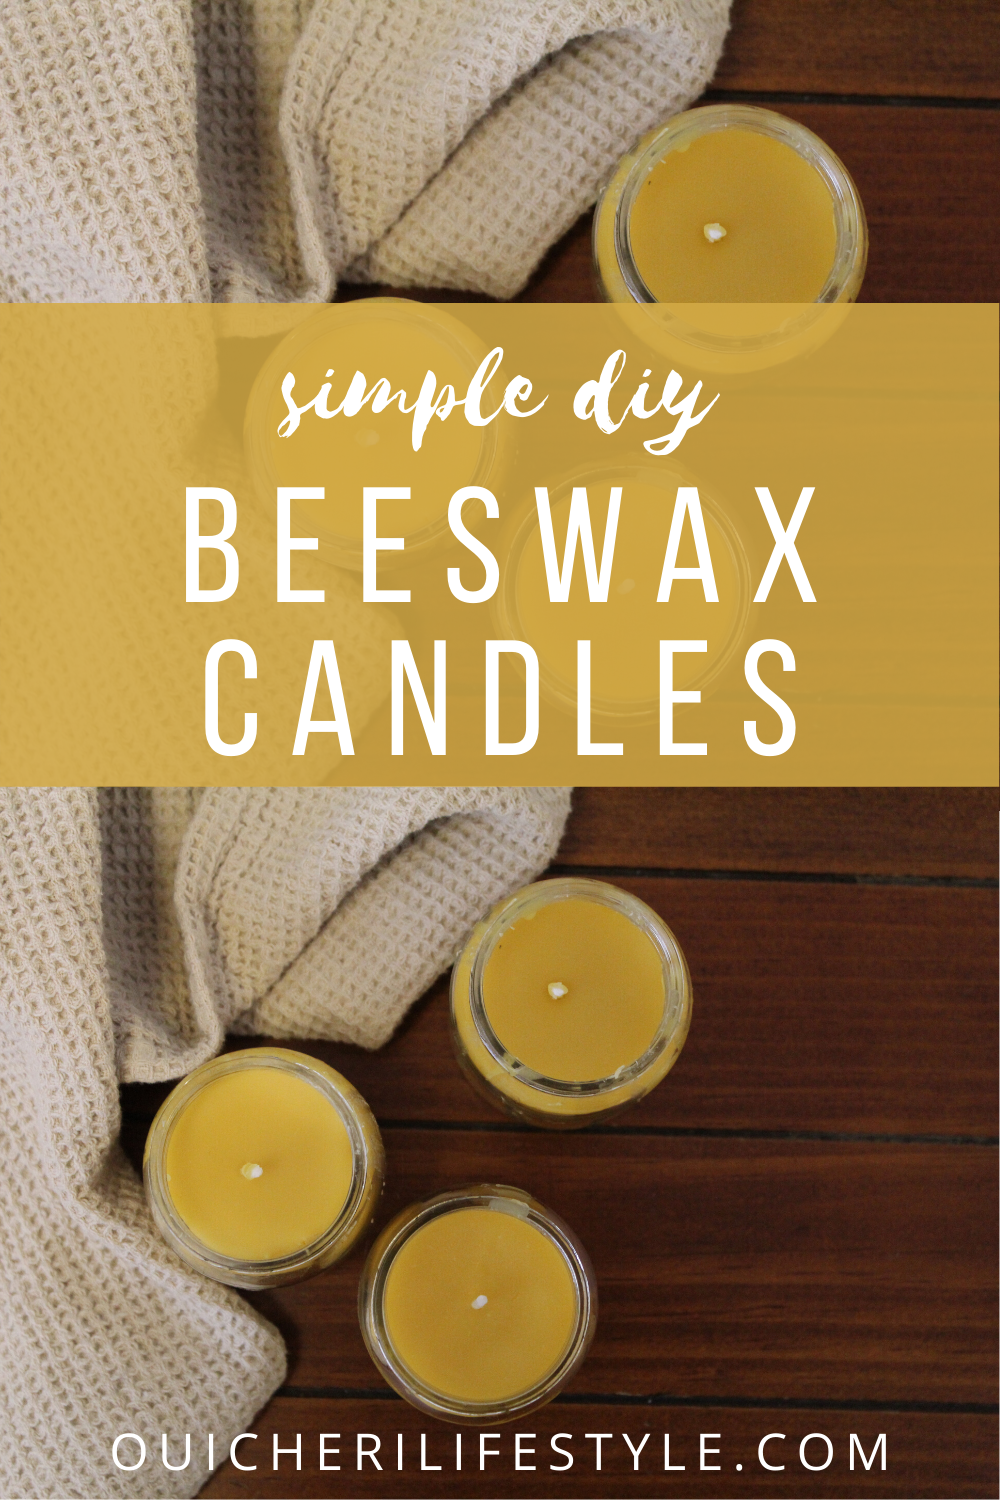
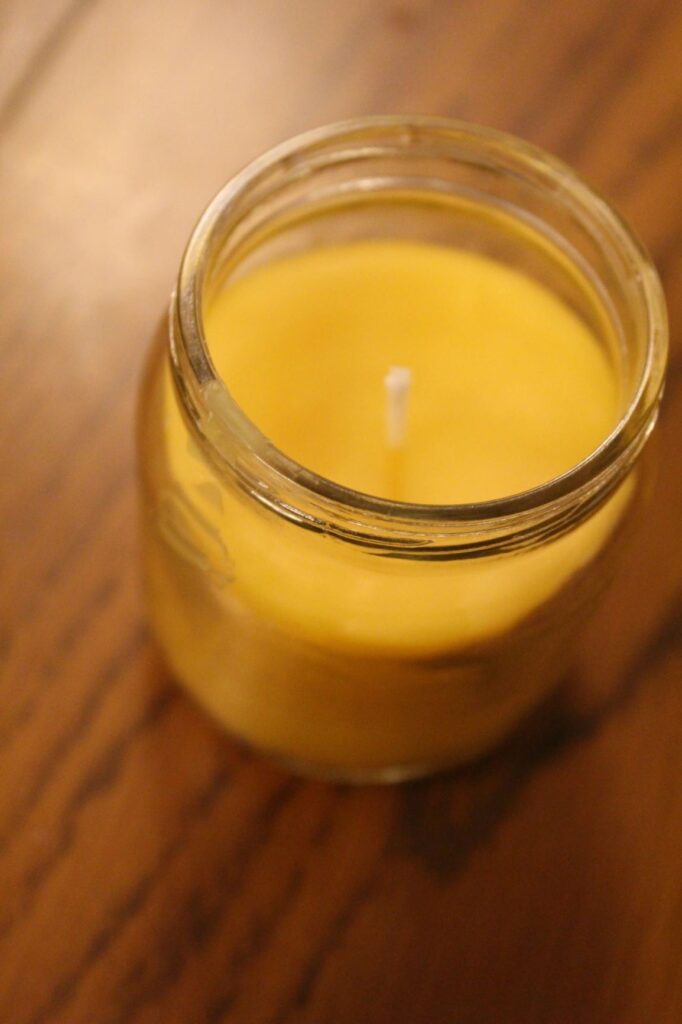
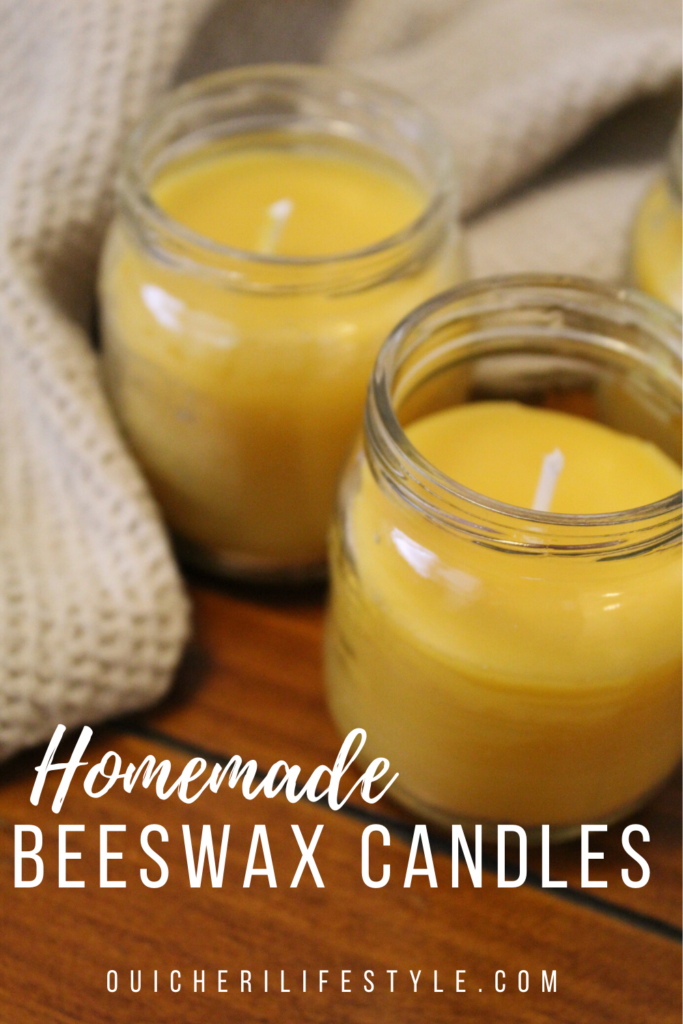
Aren’t these homemade beeswax candles the cutest??
I am absolutely in love with the warm yellow color. It looks to me like a jar of sunshine. And the size is convenient and oh so cute.
Now that you’re (hopefully) in love with these little candles and want to try them yourself, let’s get down to it.
First off, why did I choose beeswax?
There are all sorts of waxes you can use in candle making. Paraffin wax, gel wax, soy wax… What it comes down to is that while some candle waxes pollute the air when they burn, pure yellow beeswax actually helps CLEAN the air. Carter calls it “negative juju vibes”, but it’s really the residual pollen and other chemicals left in the wax that send negative ions into the air. This neutralizes the particles you don’t want in your air. Amazing!
Beeswax also has a unique natural smell, so you don’t even need to add any scent. We think it smells faintly of honey, which is oh-so lovely 🙂
Candle Making Supplies
Here’s the candle making supplies you’ll need to make your beeswax candles:
Double boiler OR two different sized pots to make your own (see instructions below)
Stirring spoon
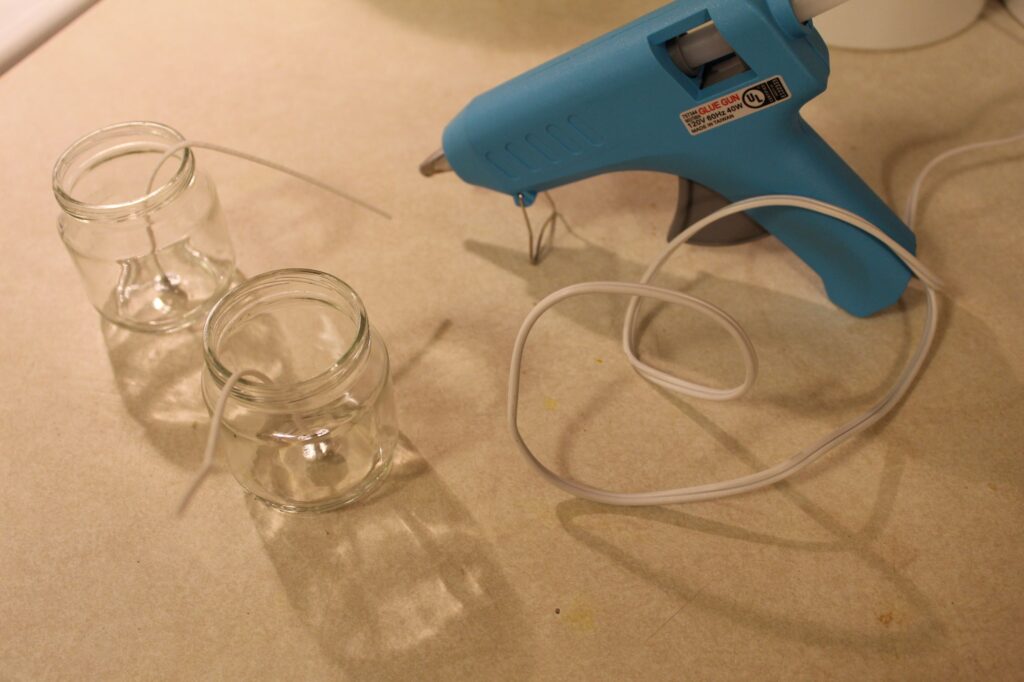
Hot glue gun
Popsicle stick, pencil, clothes pin, or something to hold your wick in place
Cookie Sheet
Foil
Thermometer (I just use a meat thermometer and it does fine!)
square cotton wicks
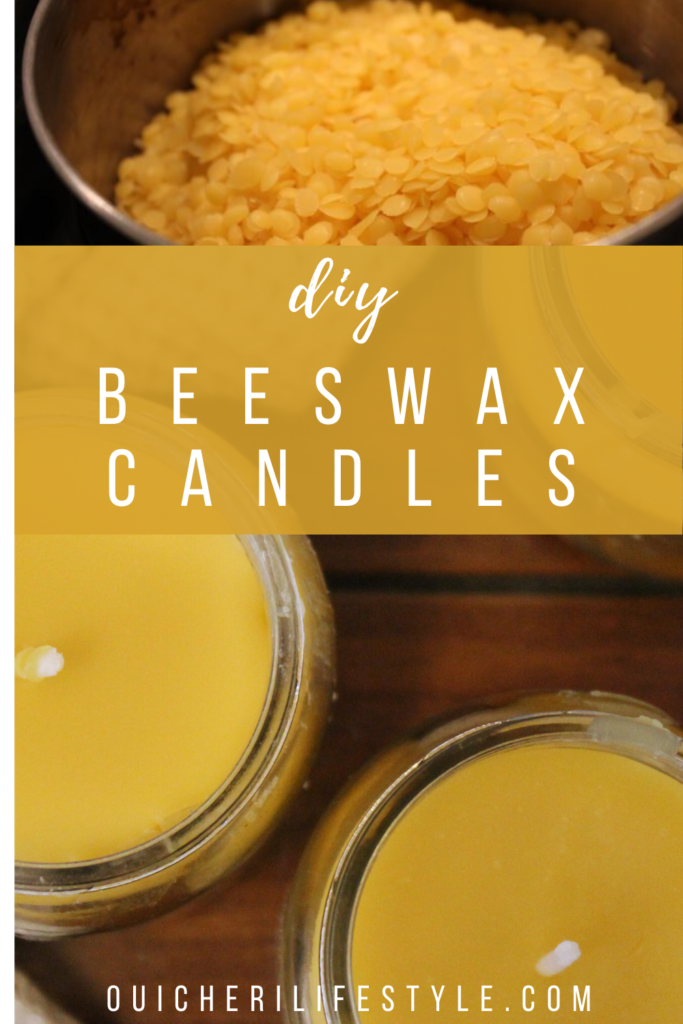
Pure yellow beeswax
Baby food jars (or some other recycled jar of your choosing… you can get really creative and have fun here!)
Once you have all your supplies ready to go, it’s time to get started!
Step one: make sure you have enough time (about an hour) to give these baby candles your complete attention. This is not an activity to do while you have babies needing to be held. I like nap times or after bitty boy has gone to bed.
Step two: Prep your jars. Remove the baby food labels and any sticky residue. Goo Gone did the trick for me! (you can also do this step ahead of time)
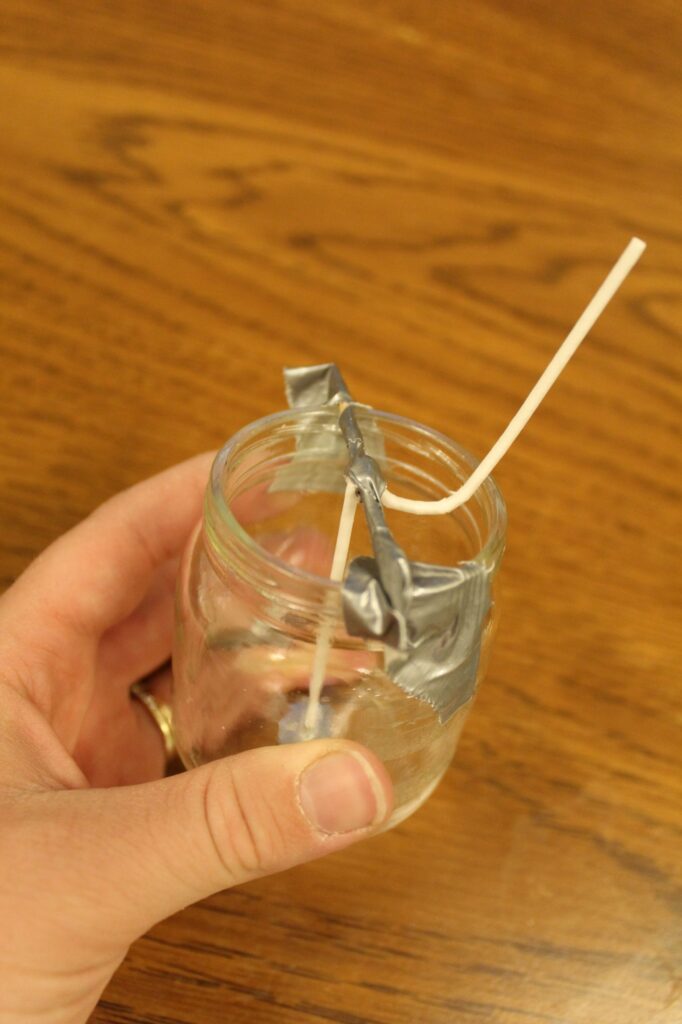
Step three: Use the hot glue gun to secure the wick to the bottom of the baby food jar. Many wicks come with a metal stand to support the wick, which is super helpful. I just dabbed some glue on the bottom of this end and did my best to center it in the jar.
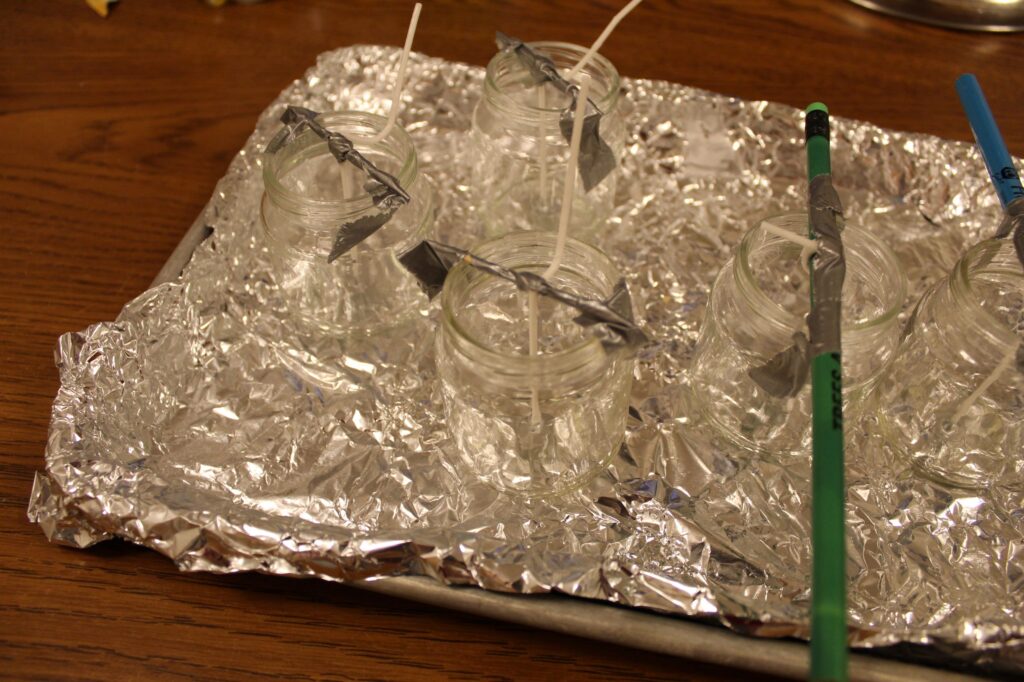
Step four: Center your wicks using whatever you have on hand. I used pencils and toothpicks, wrapping the extra wick around a few times, then taping it down with duct tape. I also taped the “centering device” to the sides of the jar. They do sell centering devices online, which probably works really well and might be a good idea if you’re planning to keep making candles. If this is a one-time thing, you’re probably fine to use what you have on hand 😉
Step five: Set up your double boiler for melting the wax. DO NOT melt the wax on direct heat because it has the chance of exploding if it heats up too quickly or unevenly! Beeswax is probably the safest wax to work with, but you should still use a double boiler system to melt it. Fill the larger pot with water and place this on the stove. Pour your yellow beeswax into the smaller pot, then place the smaller pot INSIDE the larger pot full of water. The water should not enter the smaller pot, but should slowly heat up the wax inside.
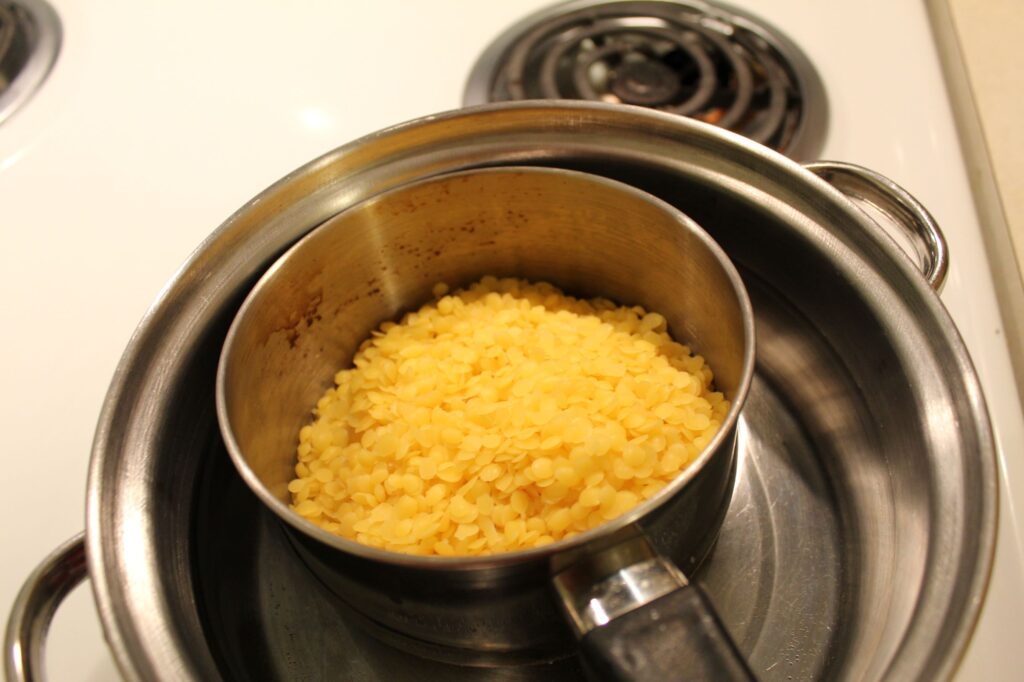
Stir the wax periodically to keep it melting evenly. You may want to get an old pot and devote it entirely to candle making, as you may not be able to clean all the wax residue out of your pots. The thrift store is a great place to find old pots!
Step six: While the wax is melting, prep your pouring station. It gets a little messy when I pour, so I like to place all my jars on a cookie sheet lined with foil. If wax drips onto the foil, I can easily peel it off (once dry) and melt it again for future use.
Step Seven: Sources seem to vary on the best temperature for pouring beeswax, but I aimed for between 150 and 160 degrees F and it turned out great. You can use your thermometer to track the temperature of the wax. If you wipe it off immediately after dipping it, you shouldn’t be left with a waxy thermometer.
Step Eight: Carefully pour the wax into your container. *DO NOT use all the wax in your pot. You’ll want to leave some melted wax behind for the next step.* It’s hit and miss for me on this. Sometimes they turn out beautiful, sometimes a bit messier. You just have to find the perfect angle to pour OR invest in a pouring pot made specifically for candle making. I’m thinking I’ll have to invest in this soon.
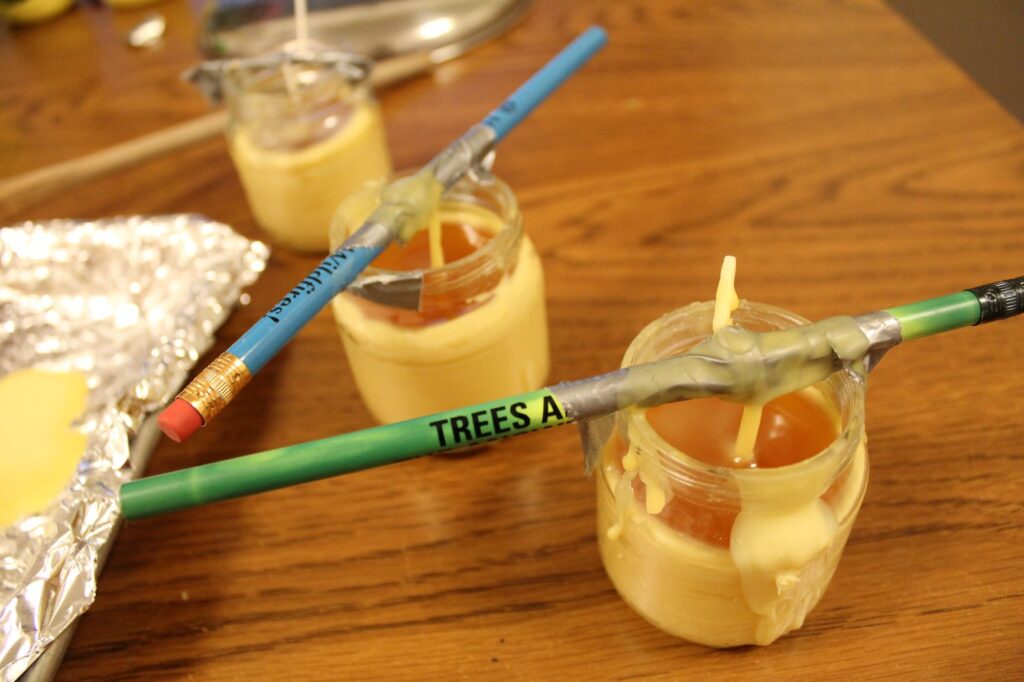
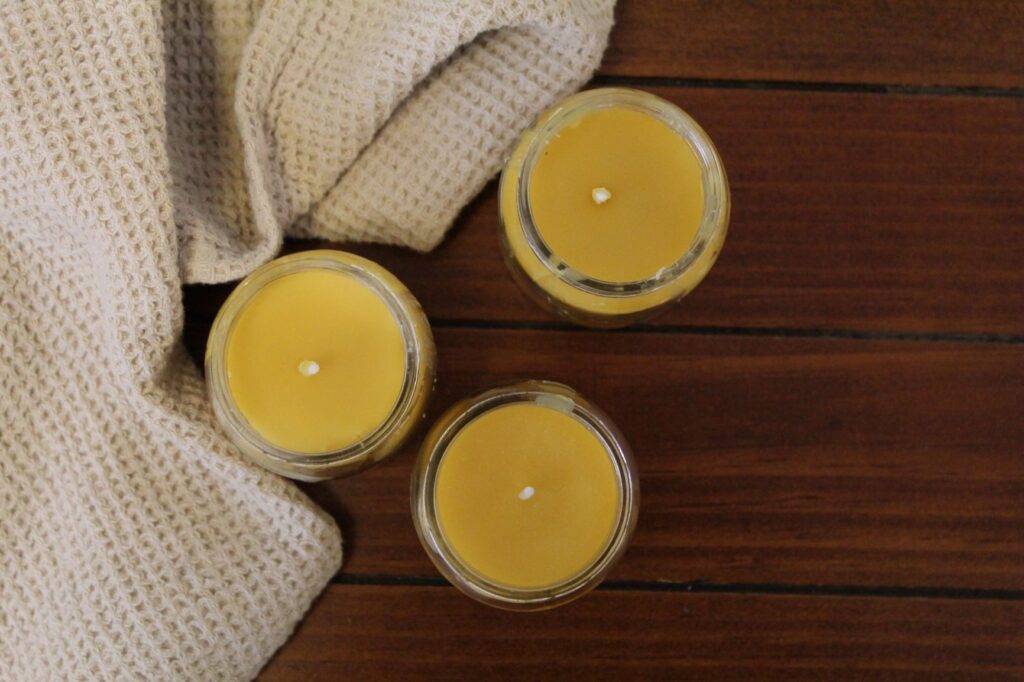
Step Nine: Allow the wax to cool. As it cools, you may notice little sink holes in your candle, as a result of the wax shrinking as it cools. If you notice this, pour a little more wax into your candle until it is level with the original line you poured to.
Step Ten: Allow the candle wax to cool completely (This might take a few hours). Trim the wick to about 1 cm above the wax. If your jar looks a little messy (like mine in the pic above), you can take a toothpick and gently scrap wax off the sides of the jar. This was really easy to do while the wax was still warm, so it just slid off easily.
Step Eleven: Wait at least 24 hours before you light your candle. Then sit back, relax, and enjoy those “negative juju vibes” 😉
Did you like this post? I would love if you can pin it on Pinterest or share on social media to help others find it as well. Thanks for your support!

Looking for other ways to reuse old jars? Try this easy Homemade Dishwasher Detergent. I store mine in a recycled glass jar!
Want to see more about natural living and upcycling ideas? Subscribe to my email list below and be the first to hear about my latest projects.
Like!! Thank you for publishing this awesome article.
Those are so cute! I love the cheerful yellow color.
I remember making candles once in 2nd grade. I have no idea what class is for or why we did it, but it was fun. This would be a fun thing to do at a vacation spot. Kind of like those paint and sip classes. That way the candle scent always reminds you of that vacation.
Great idea!
Great tutorial! I’ll “bee” making candles from our own beeswax from our hives hopefully this fall!
I’m jealous! I can’t wait to move to a space where I am able to keep my own bees and harvest my own beeswax. Sounds amazing!
Baby food jars: what a good idea! I tried to make beeswax candles. They were tapers, and it was very difficult to get them nicely shaped. Using baby food jars takes care of that problem in such an easy way!
I definitely think that baby food jars is an easy way to go. I haven’t tried tapers yet, but they do sound more difficult!
Cute little candles. Nice to know beeswax cleans the air too!
Wow I never thought of making my own candles. This sounds easy to do!
What a smart idea to reuse baby food jars.
I love the smell of beeswax! Those jars turned out super cute too!
These are great. My dad has been making candles in his spare time. I am going to show him this.
I’ve never made candles, but you are right, they are cute! I may have to give it a try!
Your candles are lovely. The color is perfect.
Thank you, Sandi! I love the color too!
This is great! I’ve always wondered how the wick got centered and stayed in place.
I love candles! this is awesome!
This is a great way to use up those baby food jars. They turned out so cute!
That’s so interesting. Thank you.
I’ve made candles before but never made beeswax candles this is great thank you so much I can’t wait to try it
It looks like a fun project for the boys this summer! We have to find something to fill our time and then can use them at night!
Sounds (and looks) like so much fun! They’re really adorable.