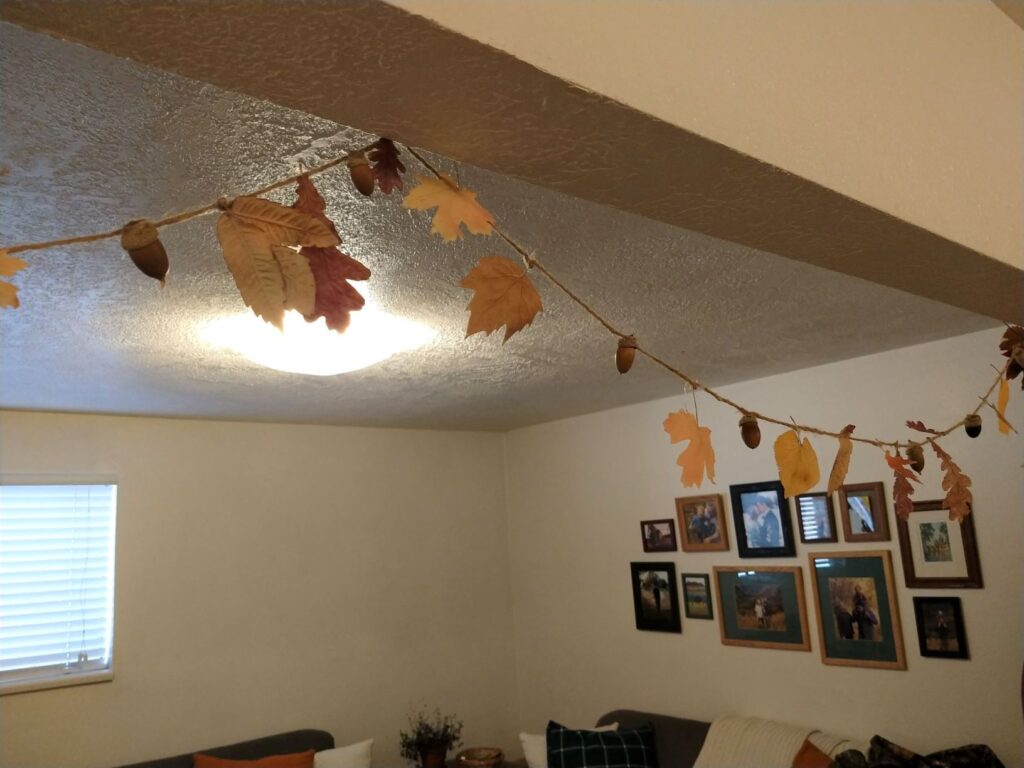
We are absolutely loving fall time around here! On top of warm cups of tea and homemade soup, one of my other favorite things is the DIY leaf and acorn garland I have hanging up in our home. I LOVE making garlands from items found outdoors. Not only is it basically free (plus a few additional supplies), but I love bringing the outdoors in. We have been so blown away by the amazing fall colors this year… we are spending every moment we can outdoors! But for those days when we can’t go outside and enjoy the fall colors, I am grateful to have our DIY fall leaf garland to bring the same beauty into our home.
Here’s how you can make your own:
Step One: Go outside and enjoy nature!
Spend some time enjoying the fall colors. If you leave close to the mountains or a forest, head there. If not, look for parks or neighborhoods that are full of trees. We love going up to campus or walking around the cemetery to collect leaves!
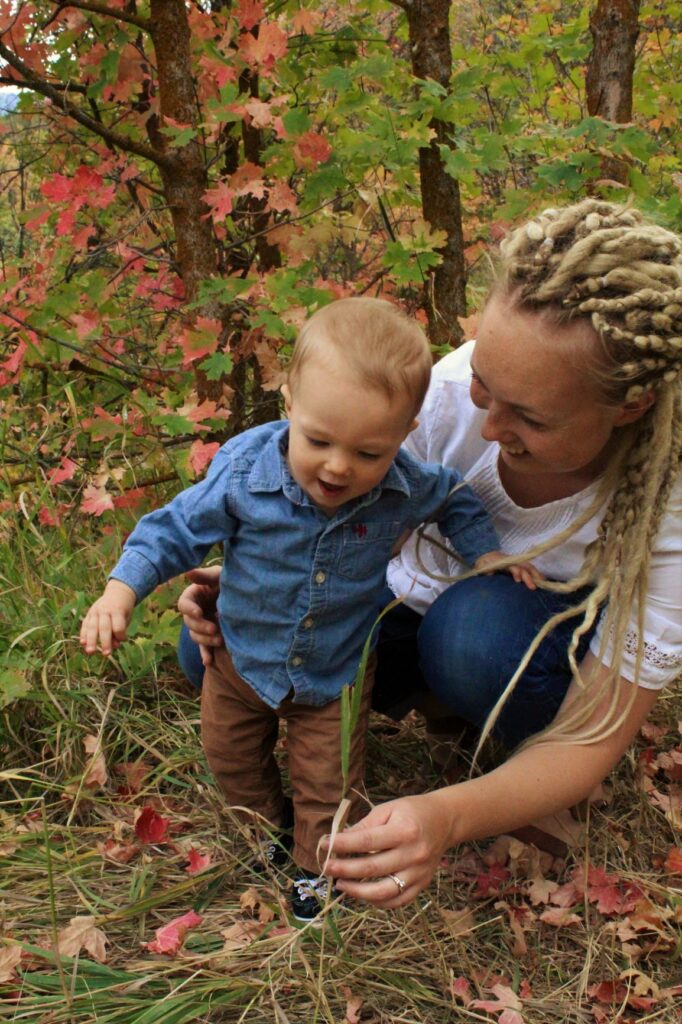
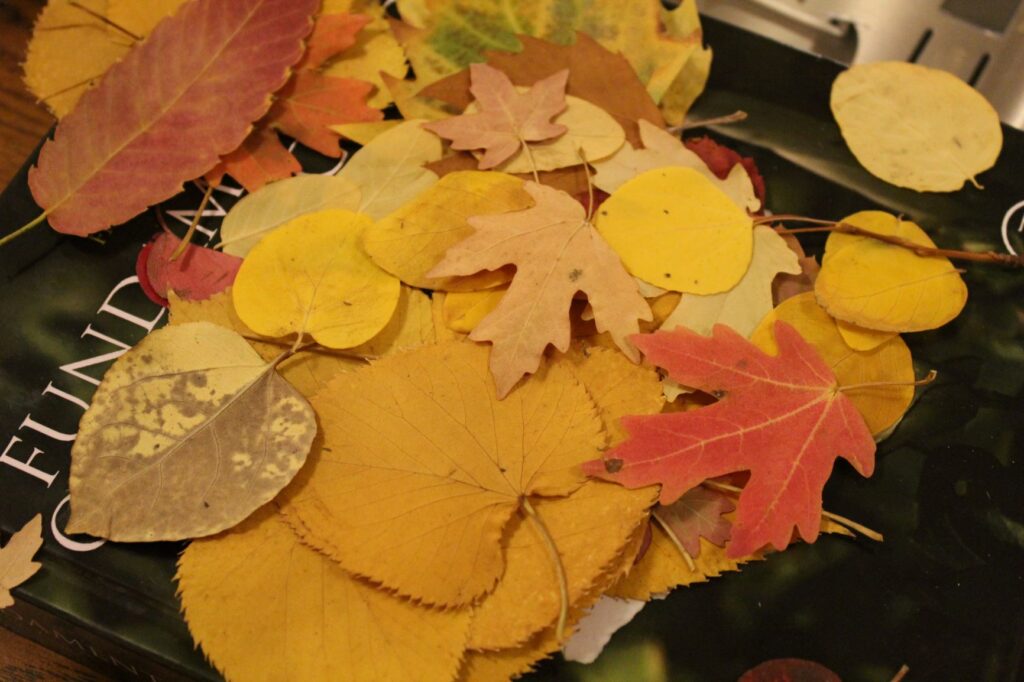
While you are out, find the best leaves you can to bring home for your garland. Look for bright colors, unique patterns, and interestingly shaped leaves.
Also look for other items! We added acorns to our garland, but you can also look for pine cones, nuts, or berries to add to yours.
Once you have finished the visual feast of fall colors, head home to start your craft (or save it for a rainy day/evening).
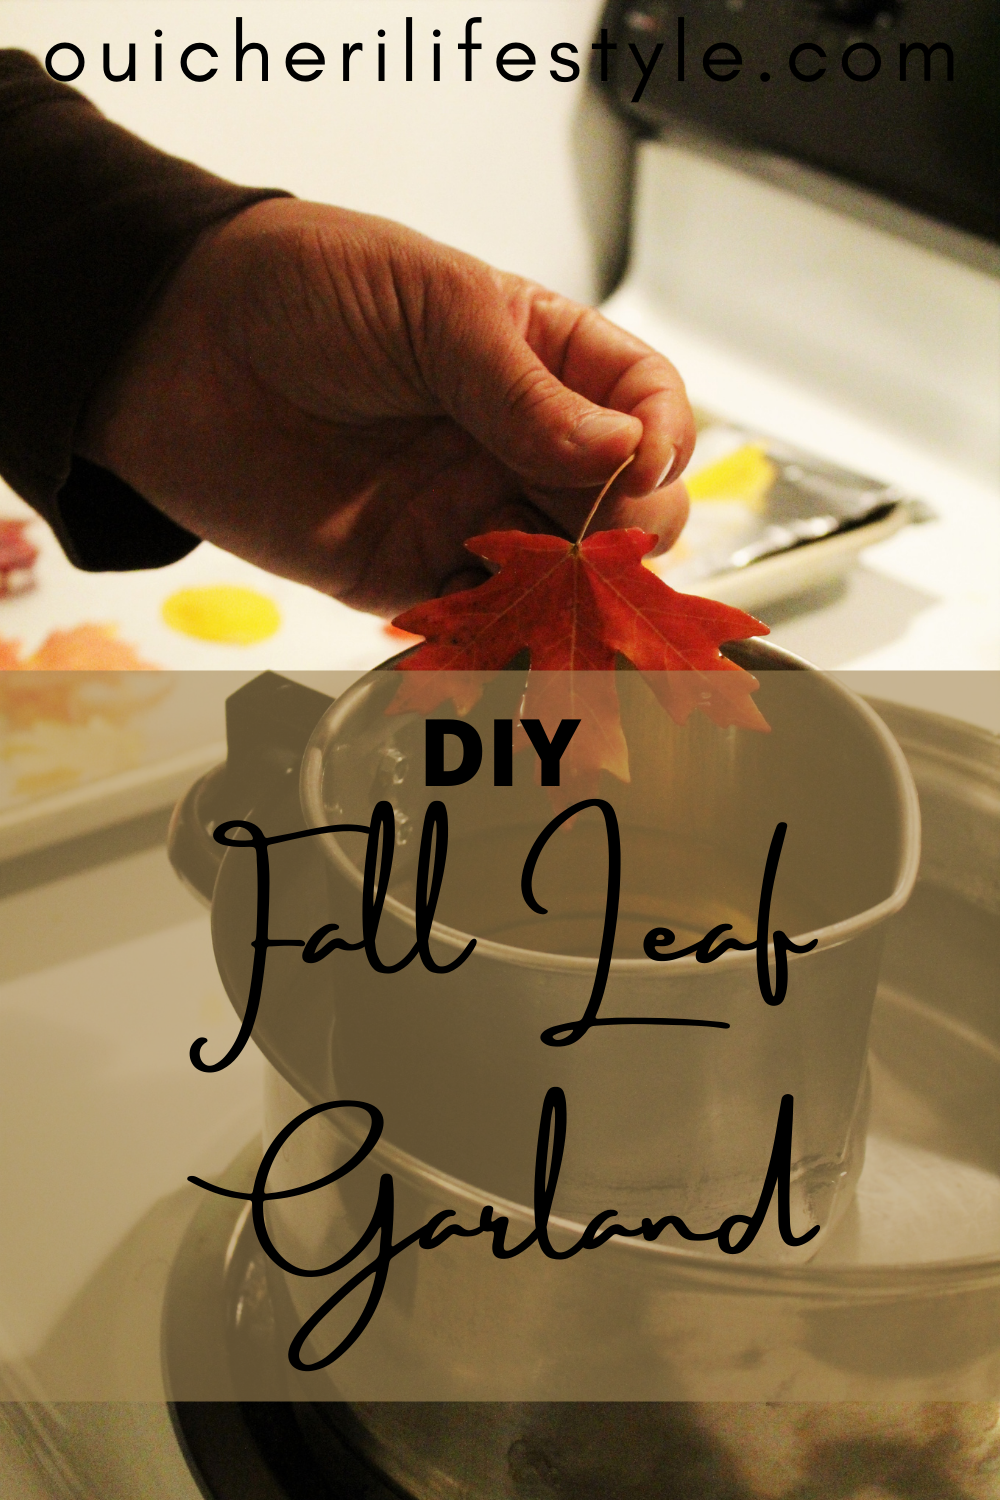
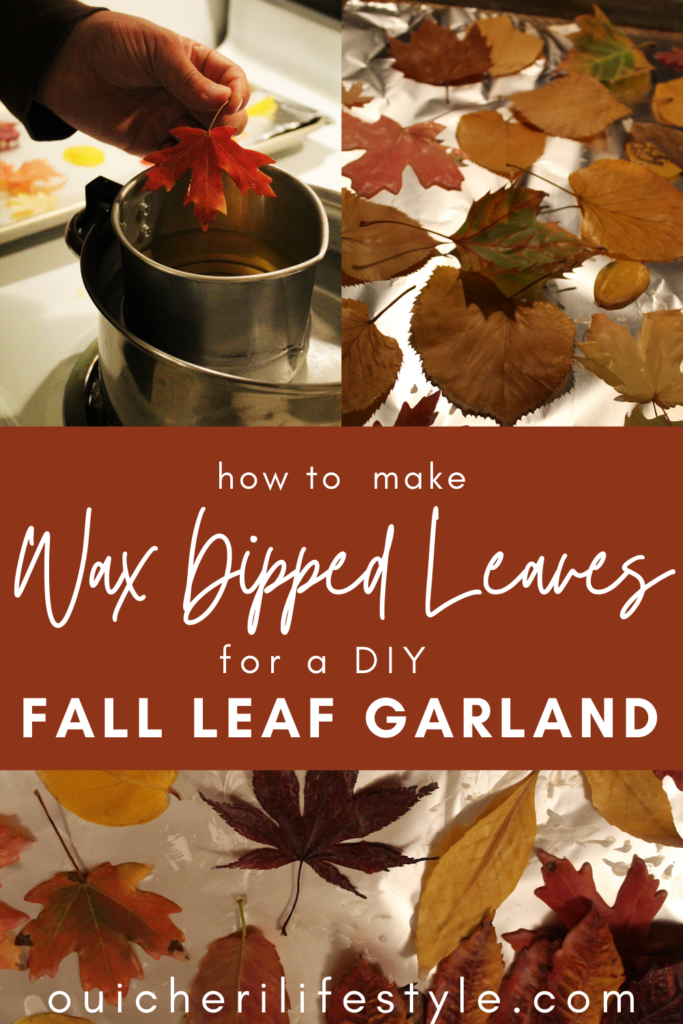
Step Two: Preserve leaves in wax
Supplies:
Soy or Beeswax
Double Boiler, wax melting pot, or two pans (one to fit inside the other)
Lined Cookie Sheet
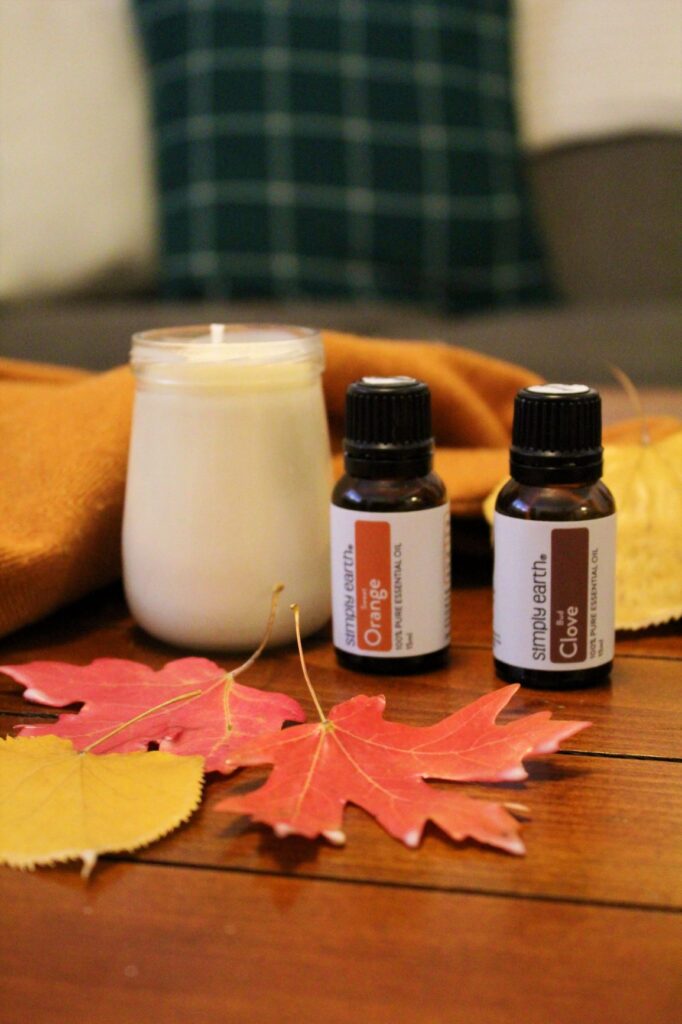
Essential Oils (optional- if you wanted a scented garland)
If you want to preserve the color of your leaves and be less worried about them breaking, dip them in wax first. I used soy wax (and made a batch of these fall essential oil candles at the same time!) because I have a lot on hand and it is fairly affordable. You can also use beeswax, if that’s what you prefer (I love it, but it is more expensive). I definitely recommend one of these two waxes though, since they are natural and non-toxic when melted. They are the two types I keep on hand at home 🙂
Melt your wax using a double boiler method. If you work with wax often, it’s helpful to have a specific pan for wax melting so you don’t ruin one of your cooking pans. Thrift stores are great places to look for these! Make sure there is enough wax to be able to dip your leaves completely. Use a wooden spoon (I have a designated wax-stirring spoon) to stir the wax as it begins to melt.
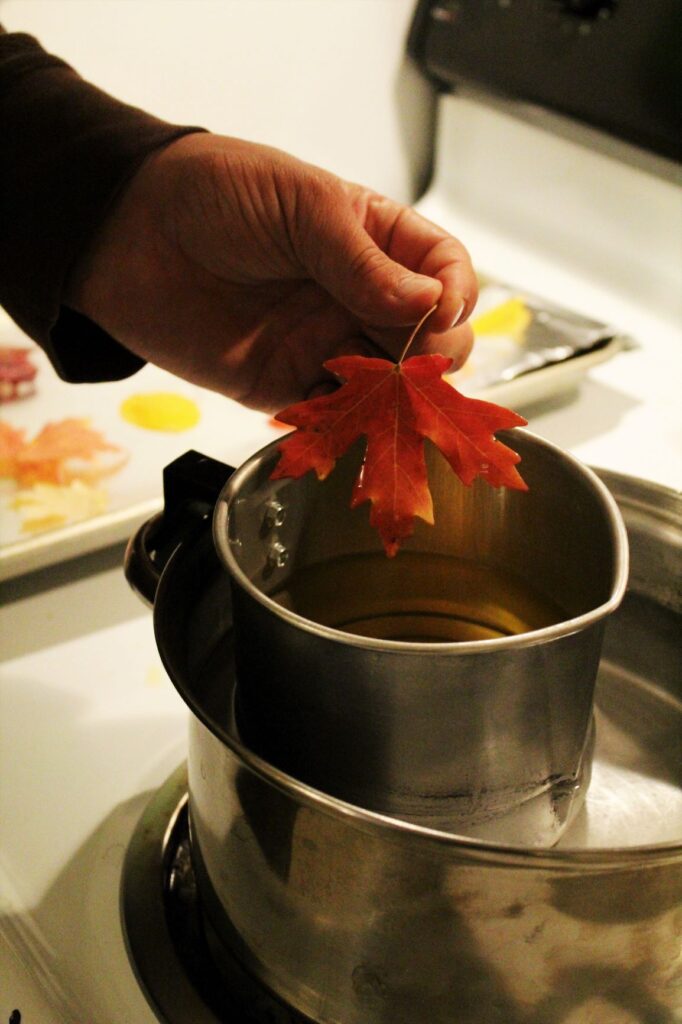
While the wax melts, prepare a cookie sheet by lining it with foil or parchment paper. Once the wax is melted completely, carefully dip each leaf in wax. Allow it to drip over the pot of wax before gently placing it on the prepared cookie sheet. This is a great time to experiment with essential oils, too, if you’d like! Adding cozy oils like clove, orange, or fir can give your garland a natural fall scent. (you’ll have to experiment with amounts of oil to add).
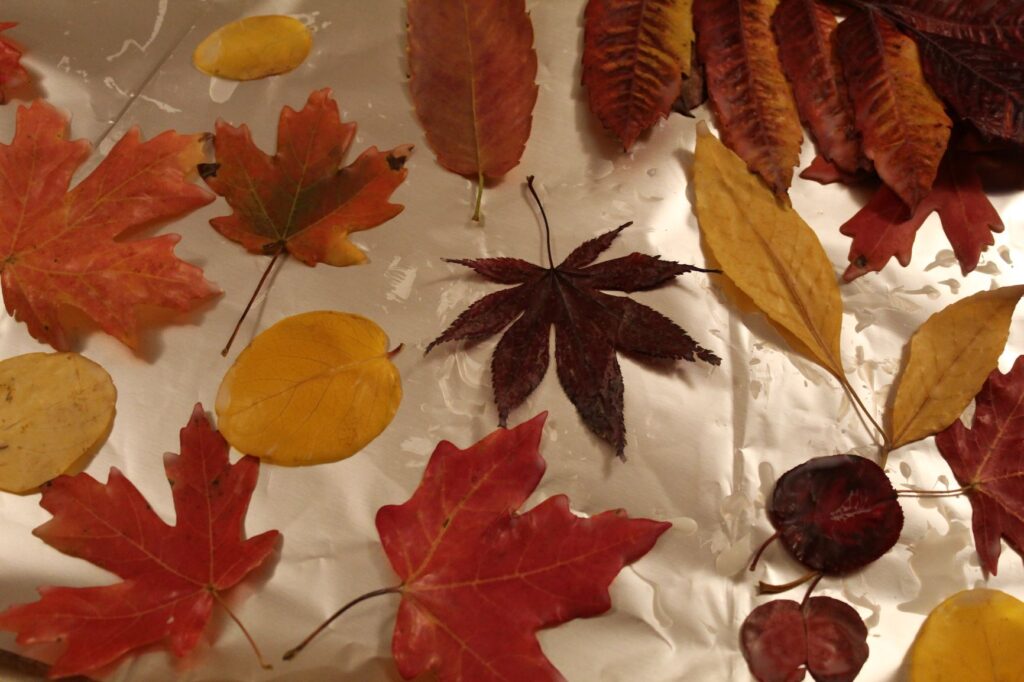
Allow your dipped leaves to dry completely before moving onto the next step.
Did you love this idea? Don’t forget to join my email list so you don’t miss out on future nature and upcycle DIYs!
Step Three: Make your Garland
Supplies:
Wax-Dipped Leaves
Twin, yarn, dental floss, or embroidery thread
Hot Glue Gun (if attaching other objects, like acorns)
Sewing Needle (if you are only doing a leaf garland)
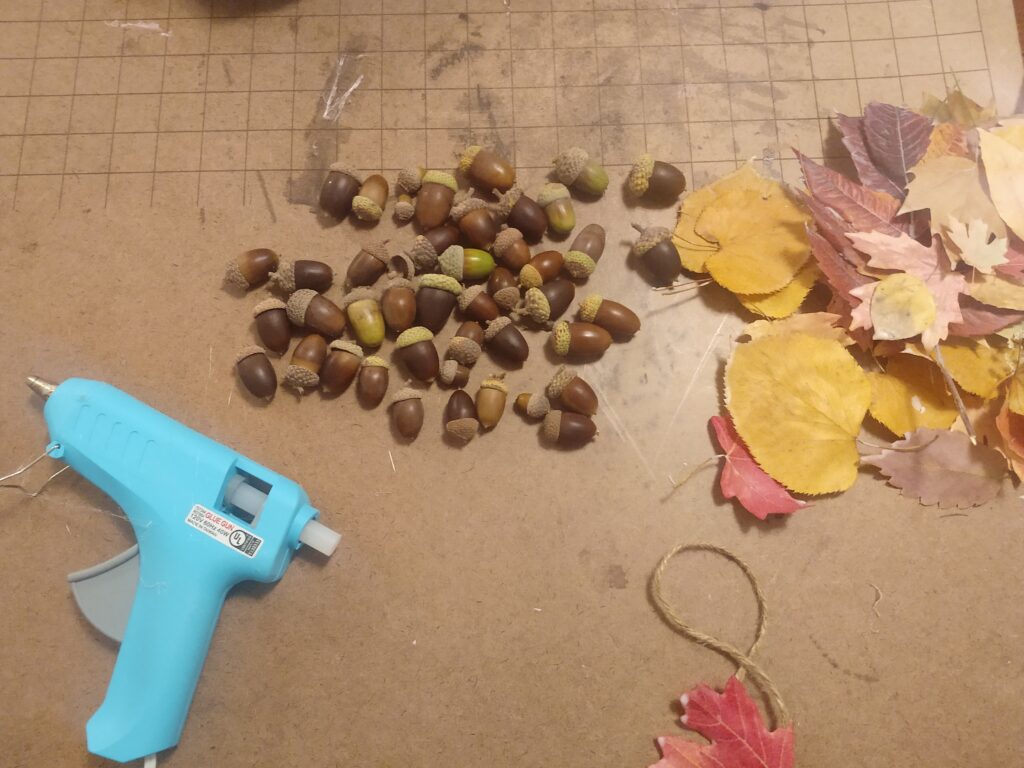
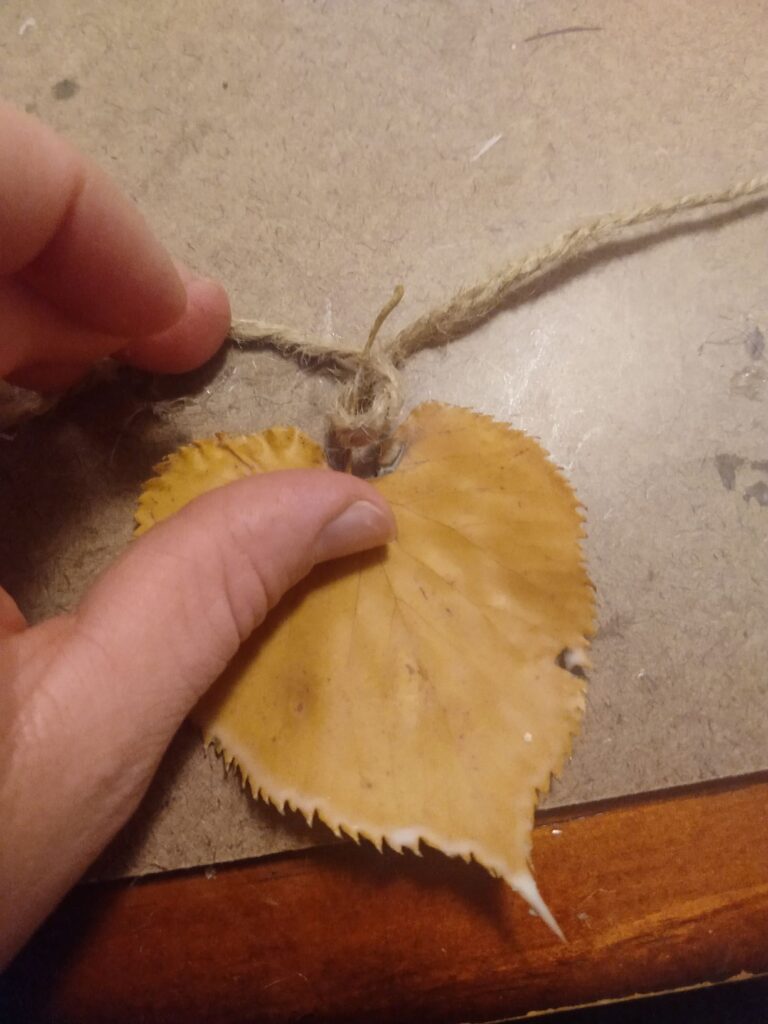
Once your leaves have dried, you can finally finish your beautiful fall leaf garland. Finishing your garland will depend on all you want to include on your garland. If you are planning to use only leaves, it is probably easiest to thread a needle with either dental floss (it’s very strong and durable for garlands) or embroidery floss and sew through each individual leaf. If you want to include acorns or other objects like I did, you’ll need to use hot glue and something thicker like twine or yarn (try looking at thrift stores if you don’t have something on hand!).
It is a bit complicated using hot glue on wax-dipped leaves since the wax starts to melt. The best way I found to make this work is to put some glue on the twine, then wrap it around the stem of the leaf. Wrap tightly and hold as it dries.
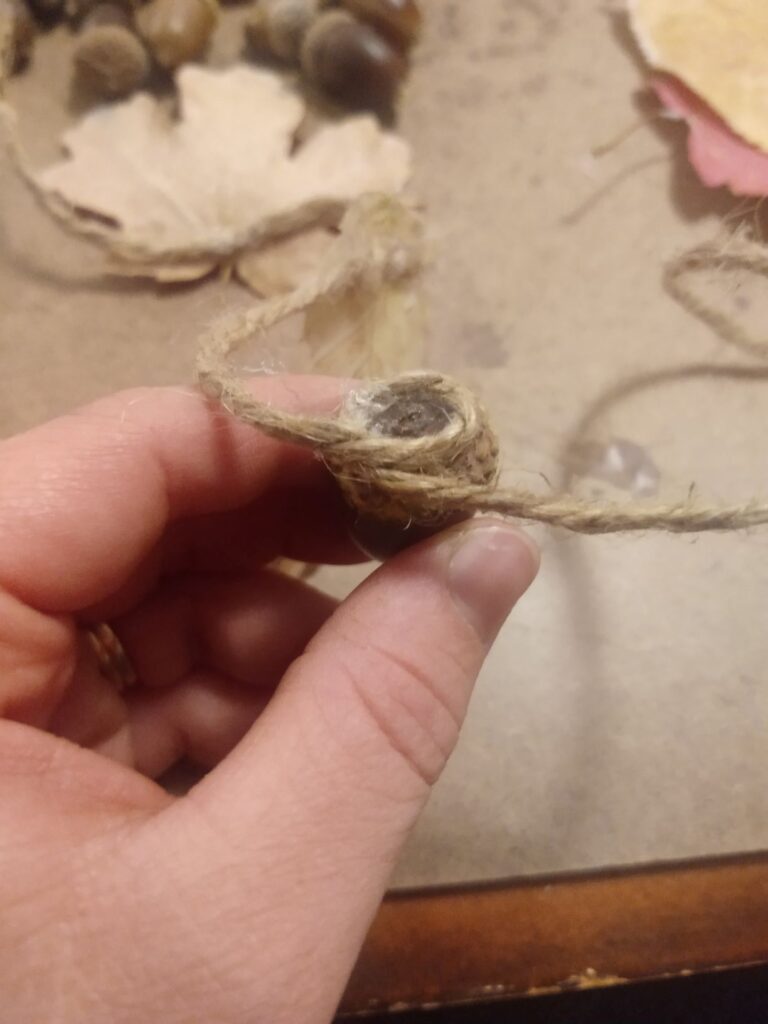
To secure pine cones or acorns, make a loop with the twine or yarn, glue around the loop, then press it onto the top of the acorn/pine cone. Be careful not to burn your fingers with the hot glue!
Once you have reached the desired length of your garland, you are finished! Hang it up in a spot where you can enjoy it and ENJOY.
Some words of advice….
Secure leaves close together on the garland! I started out with way too much space in between and had to add more leaves to achieve my desired look.
Plan out the length of your garland before you start gluing/threading.
Don’t hot glue on a surface you don’t want hot glued 😉
Don’t forget to put the leftover wax to good use! Next week I’ll share how I made fall Essential Oil candles with my leftover wax, so stay tuned! Subscribe below so you don’t miss out on that post ♥
Interested in more ideas to bring nature into your home? Check out these other posts!


Don’t forget to save this pin for later!
