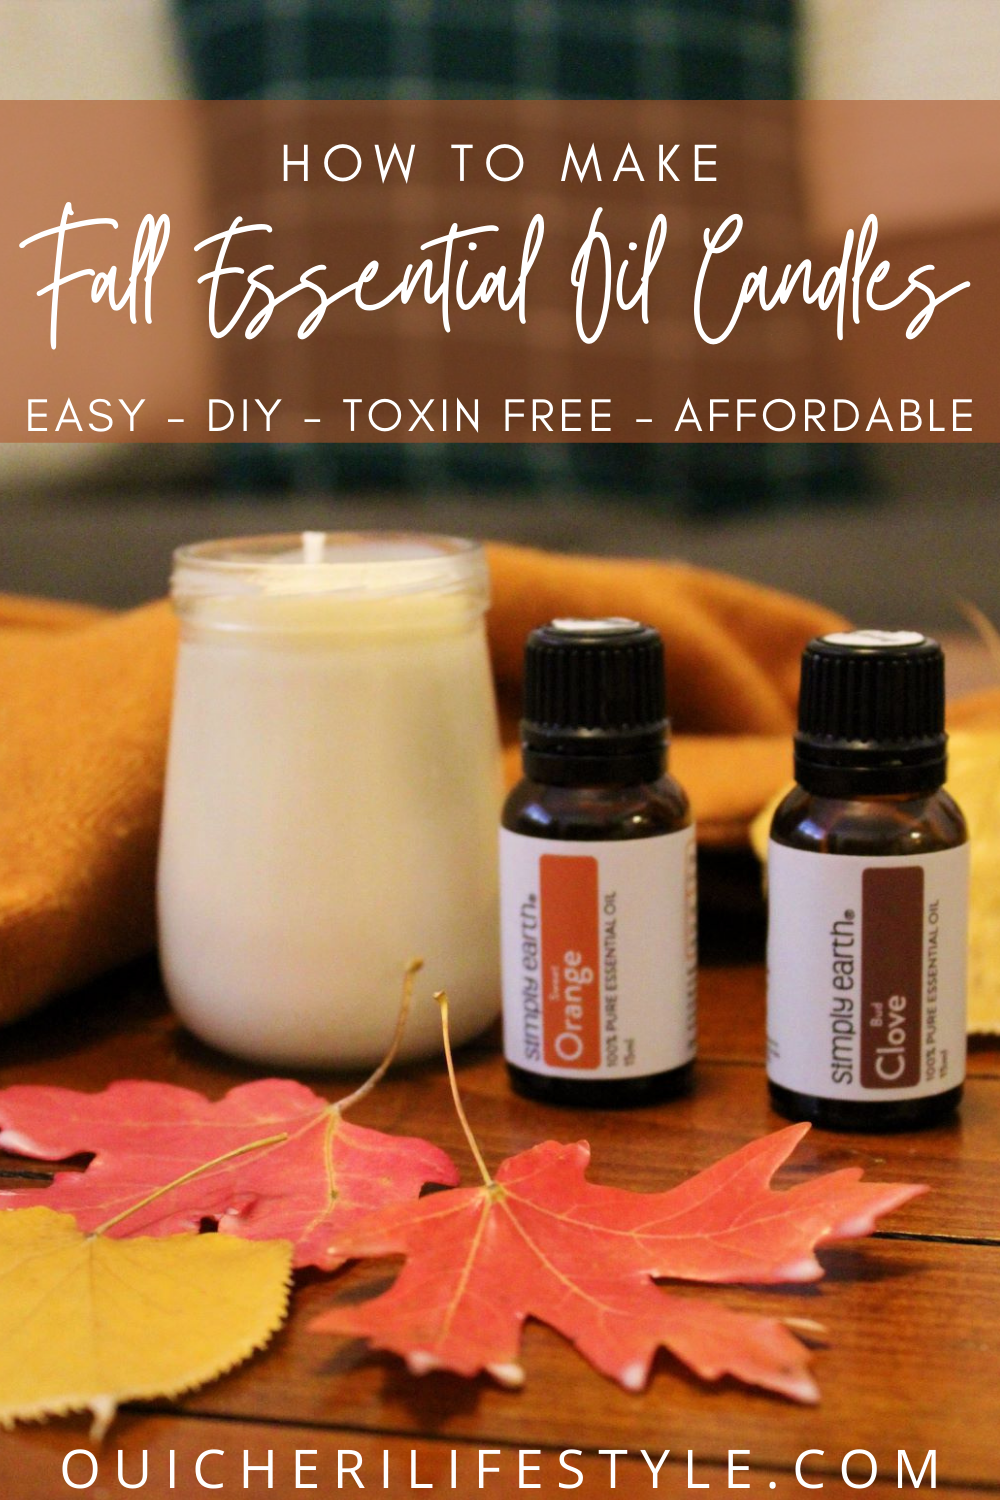
Making diy soy candles with essential oils might be easier than you’d expect! Grab your wax, oils, and some recycled jars and you’re good to go!
I know that autumn is all about crisper weather and the changing of seasons. But isn’t there also something so cozy and warm about autumn? I LOVE snuggling up in my flannel while having a campfire or while baking fall goodies.
The fall smells are also something to die for. When I made crockpot chili and apple pie in the same night, the aroma filling our house was AMAZING.
But not every day can be baking day!
What do you do to fill your home with warm autumn aromas? I used to love fragranced candles, but after finding out about all the yucky toxins that are released into your home I can’t buy them anymore. But discovering the world of diffusing essential oils and making my own candles with clean burning wax and essential oils has opened the door to cozy scents once more!
So today I get to share with you some of my favorite essential oil combinations for making your own diy soy candles with essential oils (or for the diffuser).
Some things you should know before diving into essential oil candle making:
It is way easier than you might think. I was so intimidated by the idea of candle making but knew I wanted to start. I got several library books (which were definitely fun to read!) and read up a bunch before I started making my candles. But if you’re just looking at a quick afternoon project and not diving into candle making long-term, this post should have all the information you need!
Essential oil candles don’t have a super strong scent. I guess that’s a trade you have to make for cleaner and safer burning. But they still smell amazing before burning and bring the cozy atmosphere that only lighting a fire can bring. Try these wooden candle wicks for an especially cozy candle experience!
This is not the best activity to do with babies or toddlers. Save candle making for bedtime or when you have extra helping hands.
Make sure you look through the supplies you need and have everything ready to go BEFORE you start the candle making process. This will definitely make everything go much smoother 🙂
Getting Started : Supplies you’ll need for diy soy candles with essential oils
Are you ready to dive into making your own cozy fall candles? Here’s what you’ll need (makes two 4-5 oz candles):
double boiler or two saucepans (one to fit inside the other)
recycled glass jars or tin cans
cotton wicks with base
hot glue gun
cookie sheet lined with foil or parchment paper
5 oz soywax
3 TBSP beeswax pellets
1/4 cup coconut oil
100 drops essential oils of your choice
Where do I buy my Essential Oils?
This post contains affiliate links, which means that I will receive a small commission if you purchase through one of these links. Thank you for supporting my blog!
If you really want to learn more about essential oils and begin using them in your home without breaking bank, I hands down recommend the Simply Earth subscription box. They will send you four oils a month with recipes and other products needed to make those recipes for only $40! If you have shopped for essential oils before, you know this is an amazing deal!
Use my special referral link below to get a free $45 gift card when you subscribe for their box 🙂
(In other words, get your first two boxes for the price of one!)
Order your Subscription Box AND get a FREE $45 Gift Card!
Making Your Essential Oil Candles
Begin by melting your wax and coconut oil using a double boiler method. As the wax melts, begin preparing your jars and wicks.
Glue the wick base to the bottom of your jars or cans. Use a toothpick, skewer, or clothes pin to center the wick in each jar.
Once the wax is melted completely, allow it to cool for 5-10 minutes. While waiting for the wax to cool, another fun project to work on is these wax-dipped fall leaves. I dipped mine for a fall leaf garland before making my candles and loved the results!
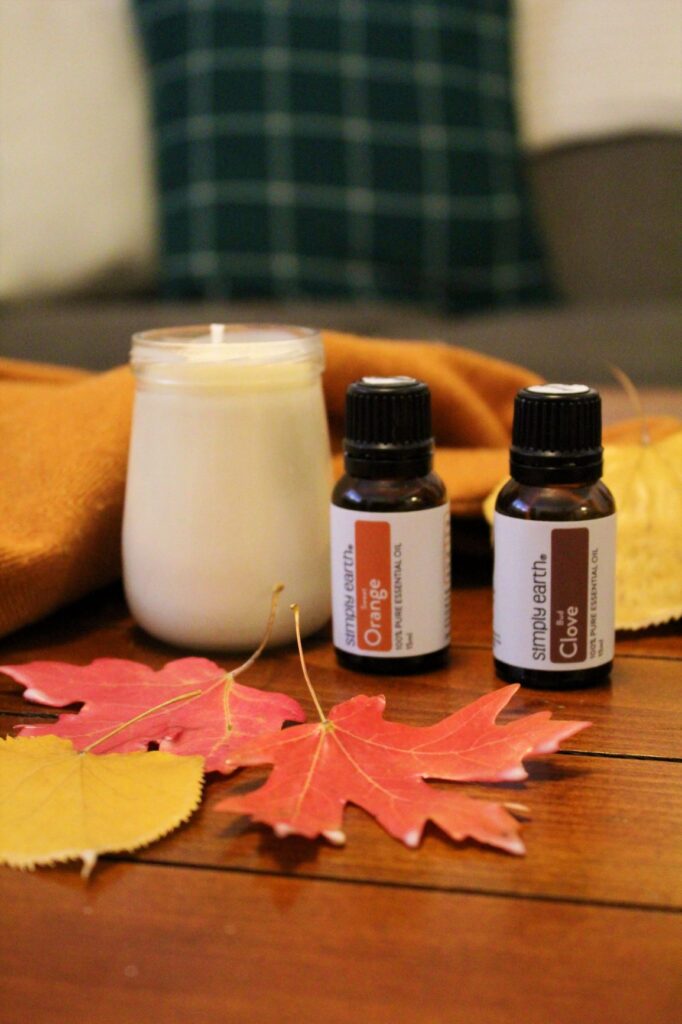
After allowing the wax to cool (but keeping it melted), add your essential oils. Here are some of my favorite combinations of essential oil for fall candles.
Orange Clove: 50 drops Orange Essential Oil, 50 drops Clove Essential Oil, 10 drops Cedarwood Essential Oil (optional)
Orchard: 45 drops Citrus Burst Essential Oil Blend, 35 drops Palmarosa Essential Oil, 30 drops Rosemary Essential Oil, 10 drops Sweet Orange Essential Oil
Autumn Leaves: 35 drops Bergamot Essential Oil, 30 drops Lavender Essential Oil, 50 drops Clary Sage Essential Oil
Autumn Spice: 60 drops Cinnamon Essential Oil, 25 drops Clove Essential Oil, 25 drops Nutmeg Essential Oil
Cozy Campfire: 50 drops Cypress Essential Oil, 23 drops Orange Essential Oil, 25 drops Frankincense Essential Oil
Use this code to get a FREE $45 gift card with your new subscription to Simply Earth! HEATHERBJOHNSONFREE
Once you have added your combination of essential oils, stir well to ensure that the oils are well incorporated into the wax.
Once you have finished mixing the essential oils into your wax, carefully pour the wax into your jar(s) or can(s), reserving some wax in your pouring pot.
Allow the candles to begin to cool, keeping the leftover wax warm on the stove. As the wax cools, you may start to notice holes appearing around your wick. I notice this most when using soy wax (compared with beeswax). Don’t worry about these holes! This is what you saved some wax for. As the wax hardens and you can see where the holes are, carefully pour more wax to fill in those holes. You’ll want to pour just enough wax to fill the holes while keeping the wax level with where you previously poured (so you don’t get funny lines in your candles!).
Allow the candles to cool again, checking once more for any sink holes. Hopefully the first time did the trick, but if you still have holes or sinking, you can add a little more wax in again.
Let the candles cool completely, waiting at least 24 hours before you light one… then enjoy the cozy fall atmosphere created by your homemade fall candles!
Comments