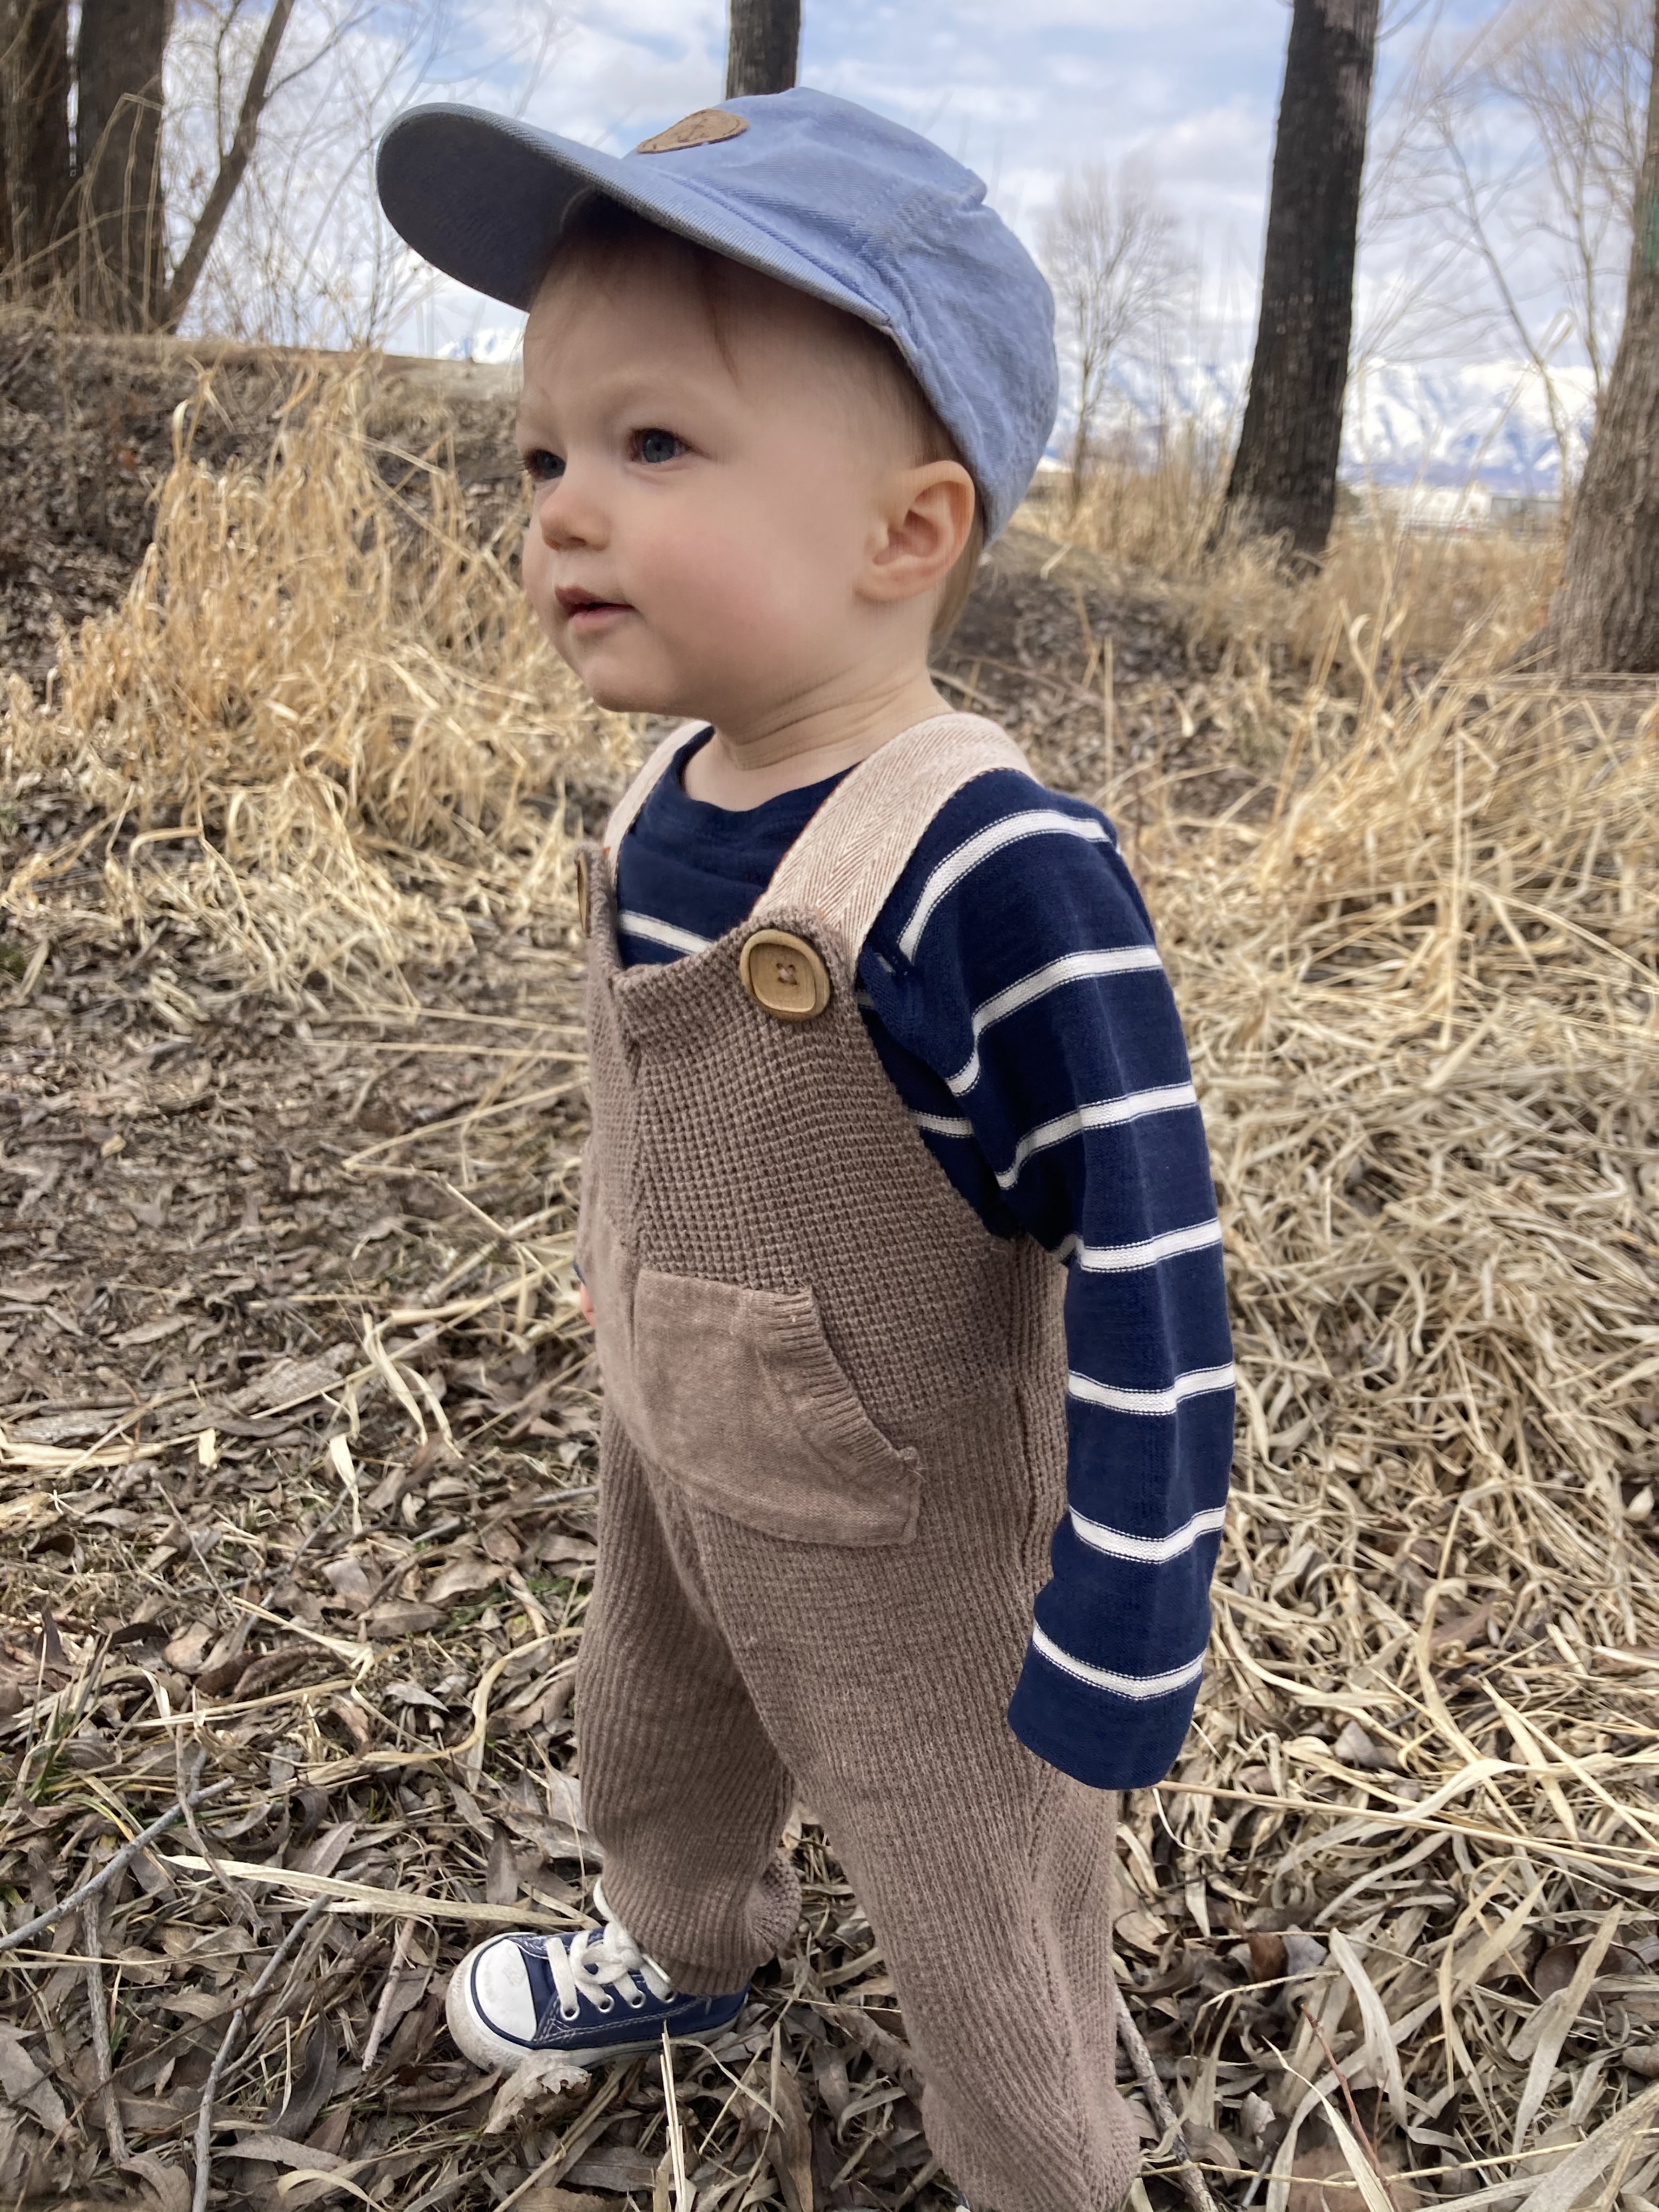
Well I’m excited to share another up-cycled clothing project today. I have been having so much fun turning old clothing into baby clothes. Do you remember that thrifted jacket I turned into pants a few weeks back? I finally finished turning the rest of the jacket into these darling overalls for Peter and I am LOVING how they turned out. Here’s how I did the transformation…


The inspiration…
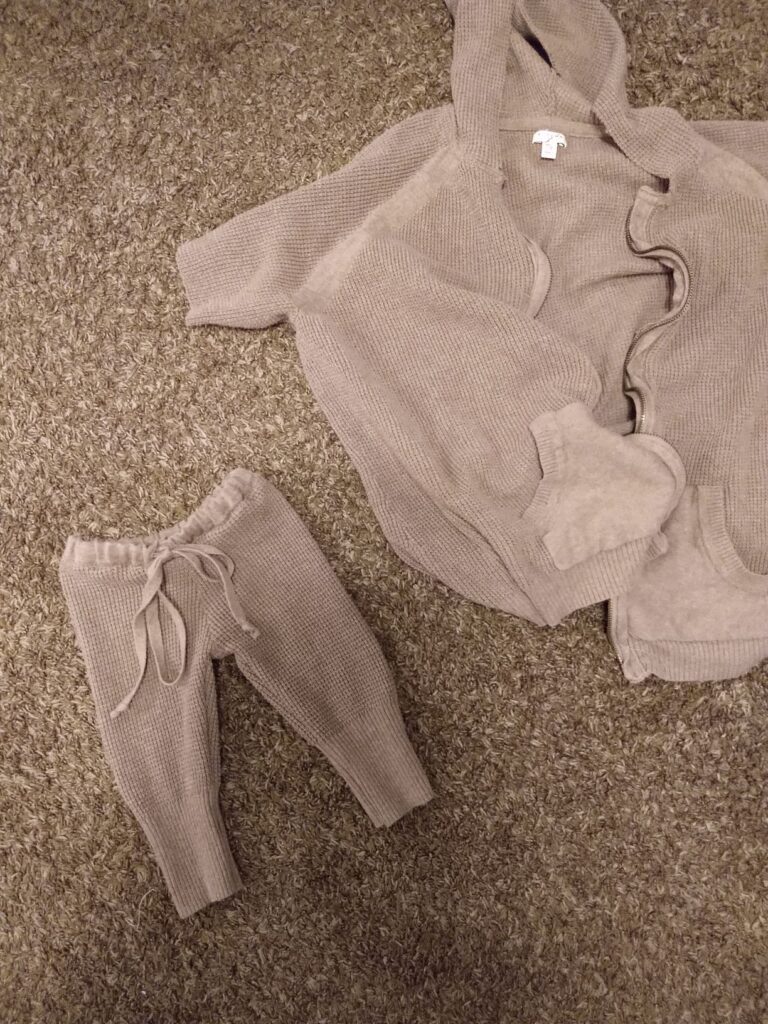
As with the pants I already made, I was inspired by the ribbed cuffs and bottom of this jacket, thinking it would make a cute finish for the bottom of pant legs. I used the jacket sleeves for the pants, which left the entire body of the jacket for another project. The jacket pockets were my main inspiration for making overalls. I knew they could easily be made smaller and would make a darling front pocket for overalls. The wooden buttons came from a pair of neutral thrifted curtains I bought a while back (for $6!) and turned into throw pillow covers. The curtains had 6 beautiful wooden buttons that have provided for several projects now. Not a bad deal!
How much did this cost?
I made these darling overalls for less than $10. It’s hard to calculate the cost since the thrifted items have now been used for multiple projects and are still providing! The thrifted jacket was $4. The curtains $6. I inherited the thread and embroidery floss (which I used to finish off the button holes) from my mother in law. The trim that I used for the straps sells for $3.49/yard. I got it for %40 off and used maybe a half a yard… so about a dollar? Looking at how much of those thrifted items I actually used for this project, I honestly probably spent less than $5 on these! So not only are they so cute and sustainable, but also so budget friendly. And I absolutely LOVE the creative process of making these.
The creation process
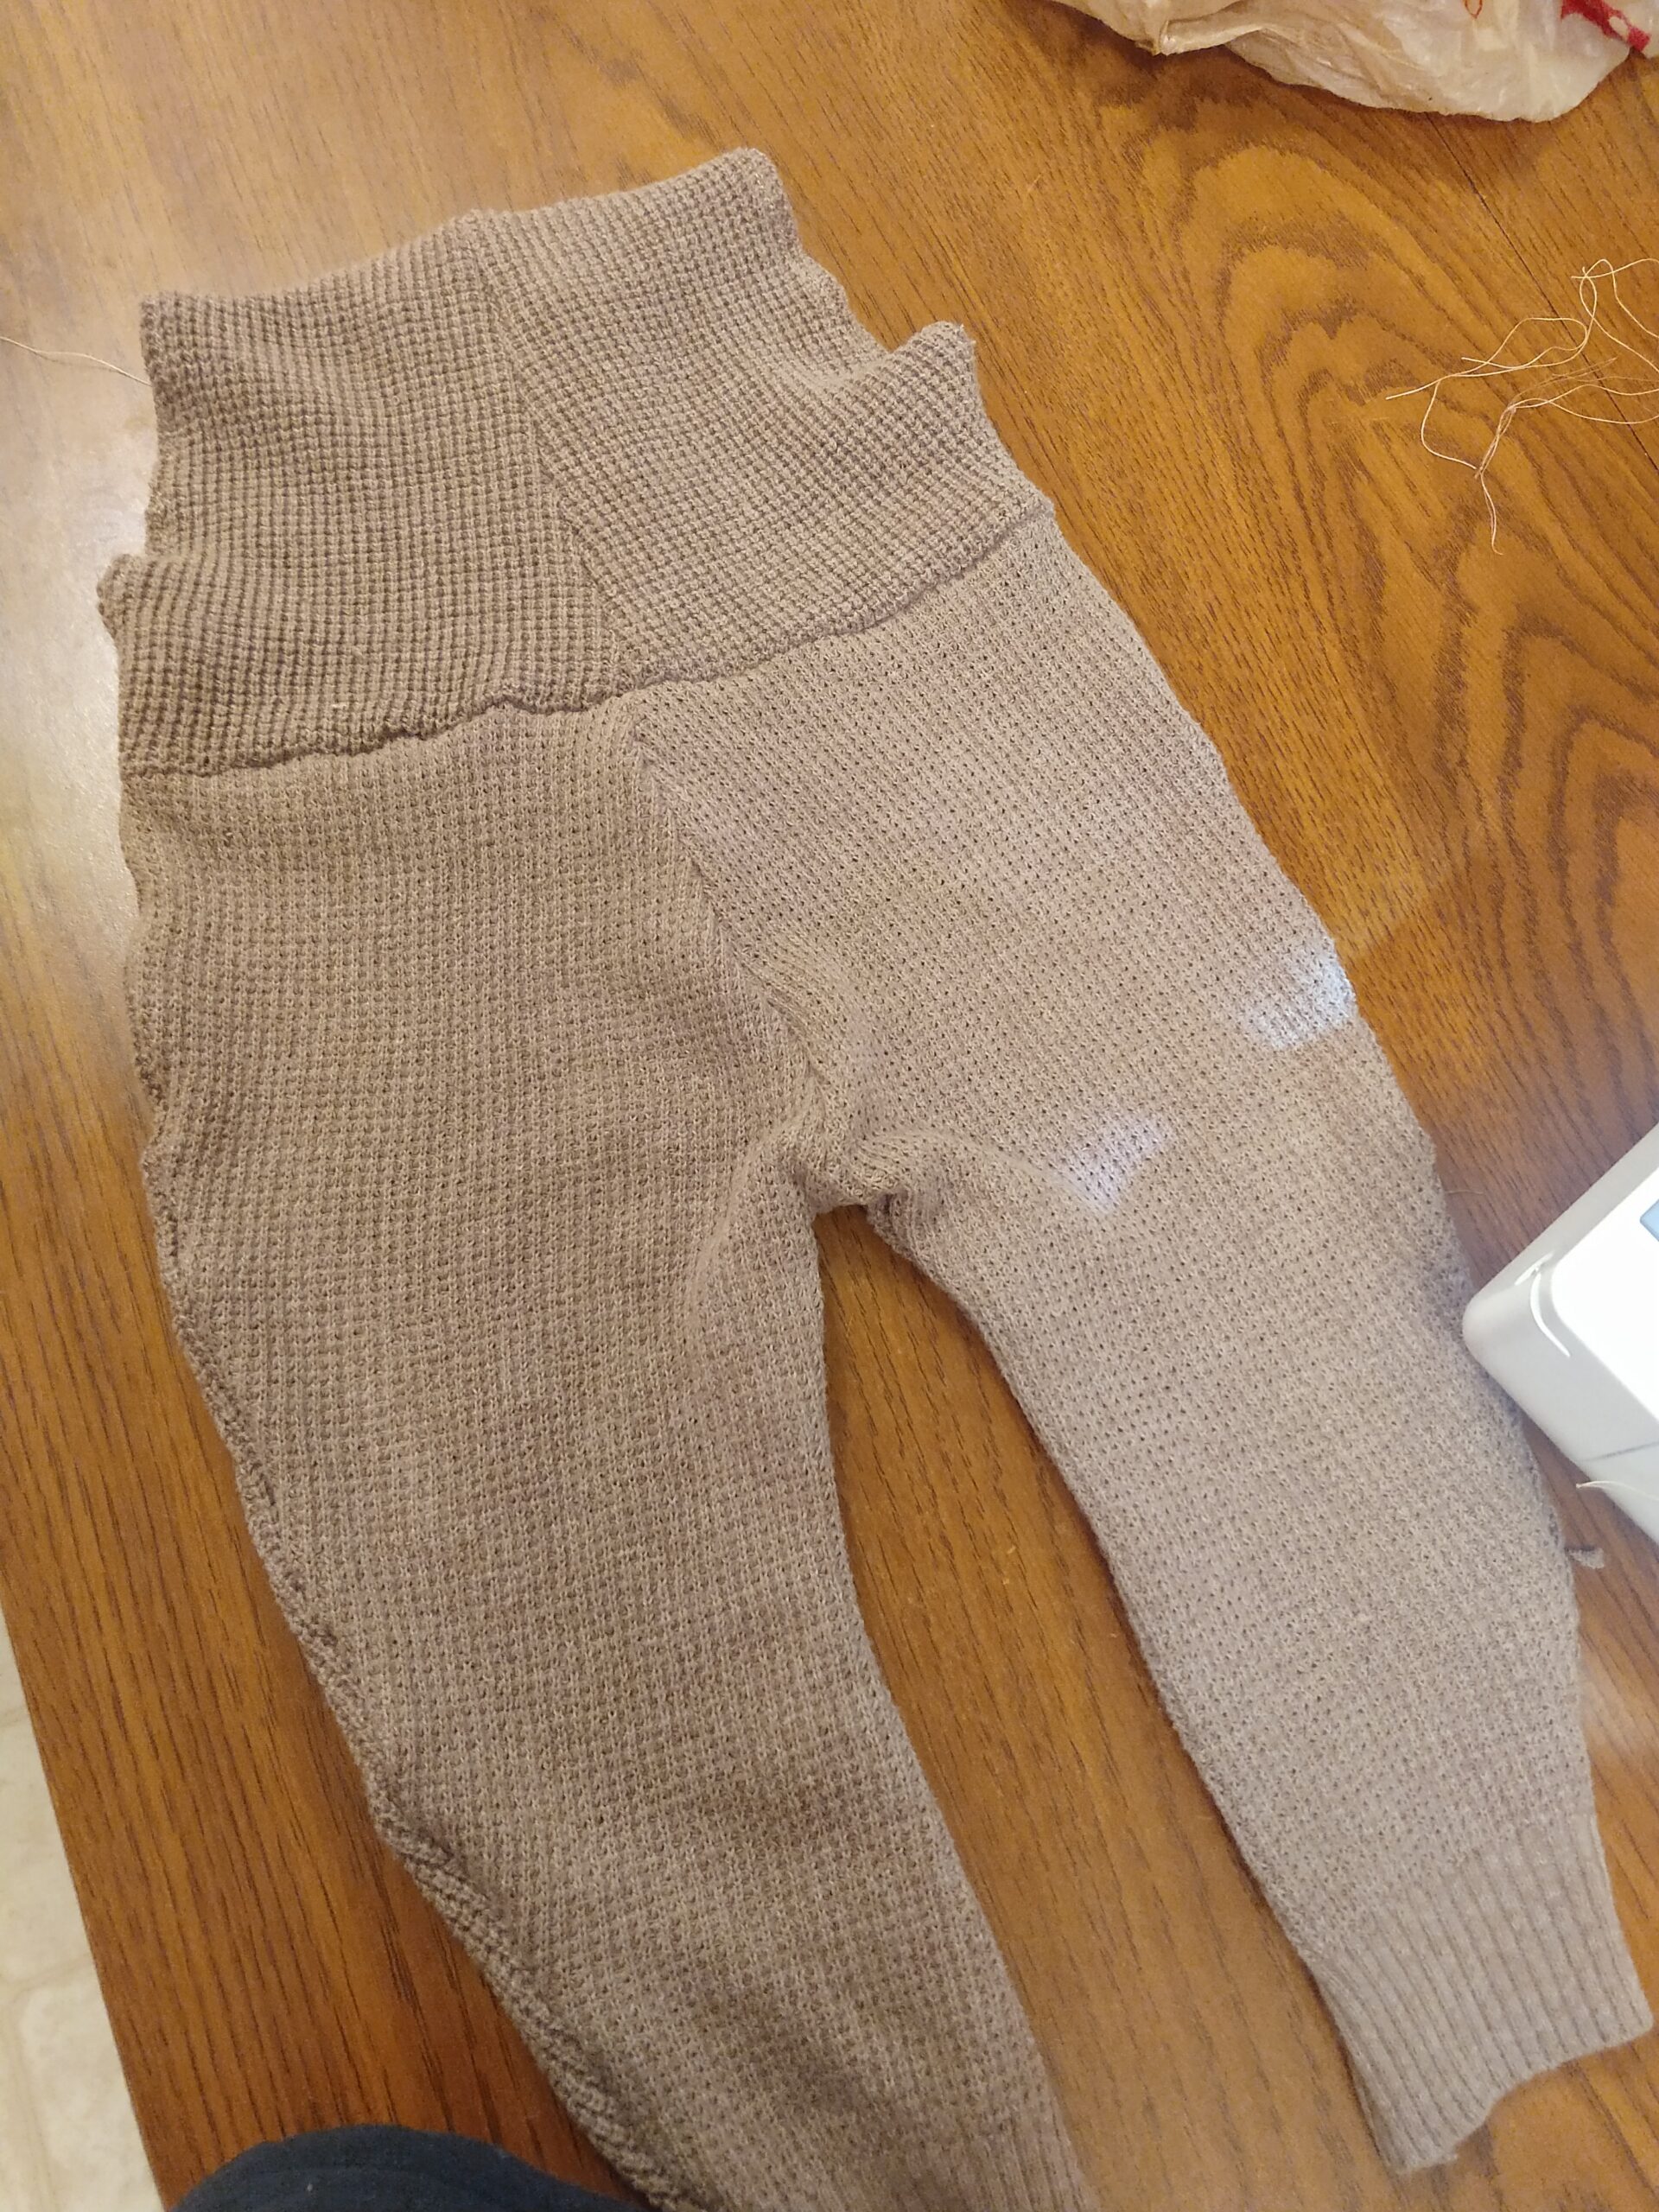
I started with a pair of our friend’s little girl’s overalls (she’s a size bigger than Peter, so I went with hers instead of his as the template). I pinned the overalls to wax paper and traced along the border with sharpie (sharpie does stay on wax paper!). Cut out the wax paper pattern You want a pattern of the overalls as if cut in half. Fold your fabric in half, pin the pattern along the folded seam (so the seam is down what will be the middle of your overalls when you cut and unfold). Cut out your fabric.
I then began sewing things together. Working without a pattern definitely has its imperfections. Your lines will not always be even and things don’t always fit as perfectly. But it is a cheap way to do things yourself and it can work pretty well. There are some awesome cheap patterns on Etsy though, if you do want to go that route!
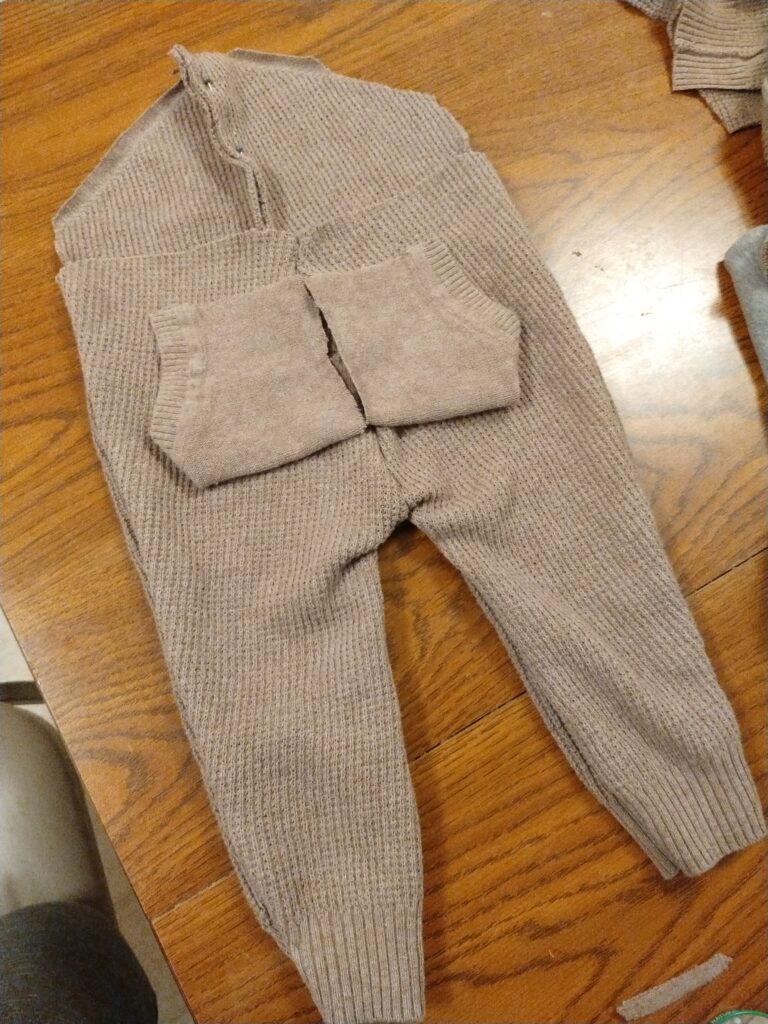
I carefully cut off the jacket pockets and pinned down to the size I wanted before cutting and sewing them. I sewed the pocket down to size before sewing it to the overalls by hand, but you could also just combine these two steps!
I would definitely recommend trying these on your little one every few steps to make sure you like where things are going. I made the entire body of the overalls, then tried them on to decide where to put the pocket. I also saw that the front panel went up really high so was able to hem that down a couple inches before attaching the buttons.
I also tried these on before sewing the straps, to make sure the angle was right for going over little shoulders and to decide where to put the button holes.
The strap design was inspired by the Old Navy overalls we have and love. These have two buttonholes on the straps for an adjustable height and pin onto a second pair of hidden buttons on the inside of the fabric. I have a bunch of old buttons so grabbed two that were a good size and used those for the functional hidden buttons.
I cut the buttonholes on the straps and finished those by hand using embroidery thread. I know there are machine settings to finish button holes, but as I’m using a friend’s machine and have never ventured there before I just kept it simple (although dragging out the process…). I also folded over the end of the strap and went over it a few times with the machine to prevent fraying. Again, not a perfect design, but pretty dang cute!
The next day after finishing these I got so many compliments while Peter was wearing them. People were amazed that they handmade, saying how cute they were. I’m feeling pretty proud!
What creations have you been working on? Do you you have any fun up-cycles in mind to repurpose things you’re getting rid of with spring cleaning? Check out last week’s post on creative ideas for up-cycling your spring clutter before throwing it out!
Looking for more fun clothing up-cycle ideas? Check out these previous posts in case you missed them!
DIY Baby Pants from an Up-cycled Jacket
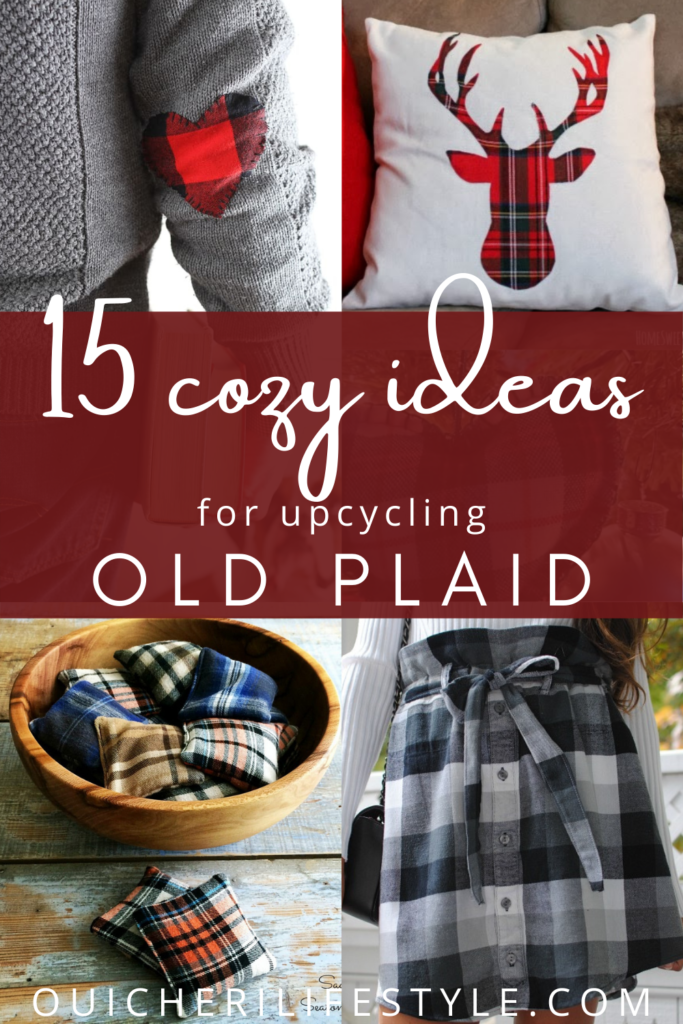
Cozy Ideas for Upcycling Old Plaid Flannel
DIY Embroidered Corduroy Coasters