
I have found a new FAVORITE hobby this week! While I have enjoyed learning to knit and weave pine needle baskets the last few weeks, it’s not something I feel completely drawn to do 100% of the time forever and ever. But today’s project feels like just that for me!
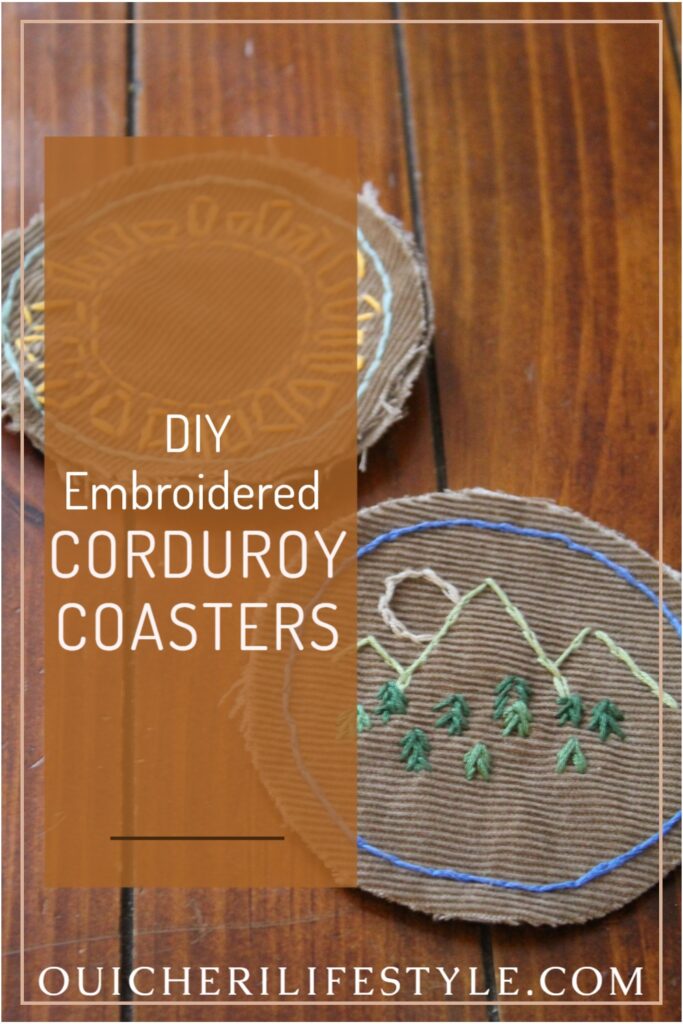
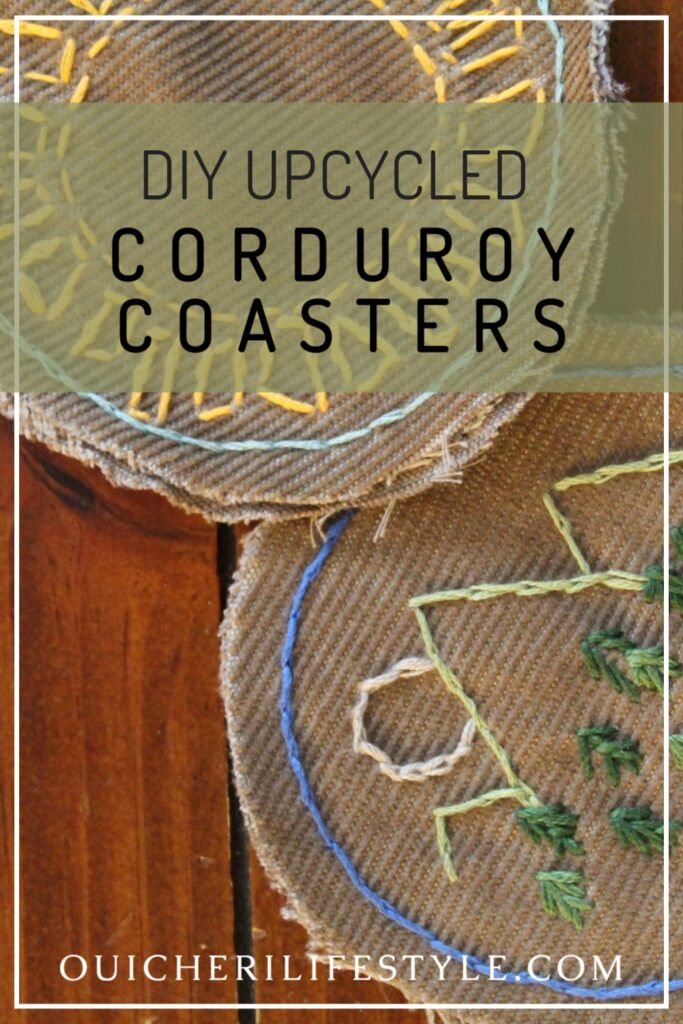
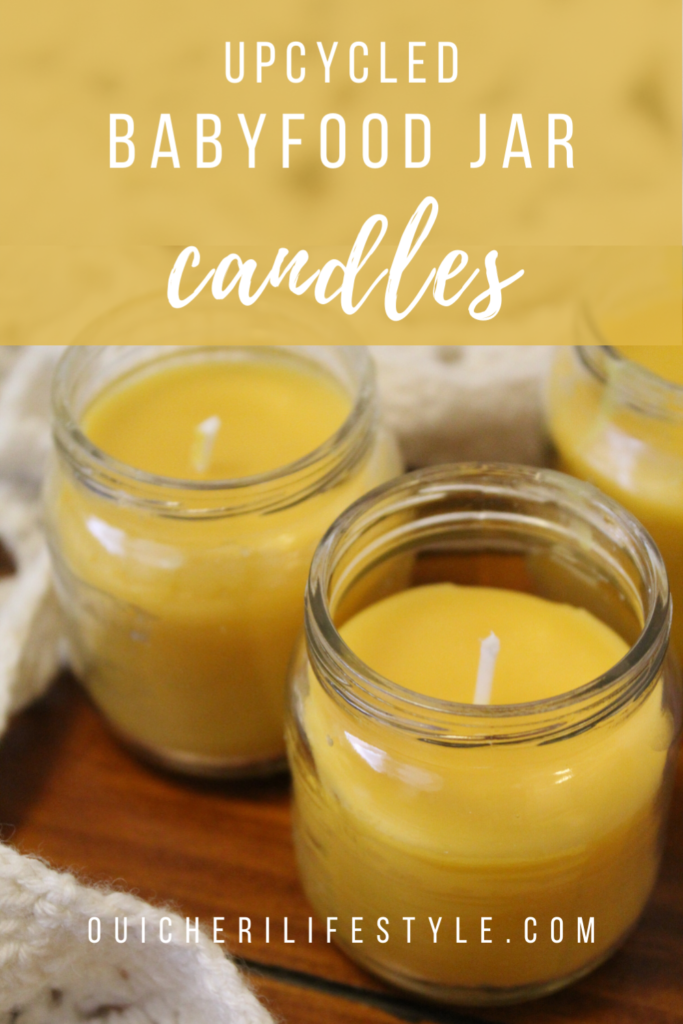
For several months I’ve been working on my Etsy Shop, which focuses on selling “upcycled” products made from recycled materials. I’ve made baby bows and many different candles in recycled glass jars. But these embroidered corduroy coasters are my favorite project yet! They combine upcycling with creativity, allowing me to use my creative juices in a fun new way I never have before!
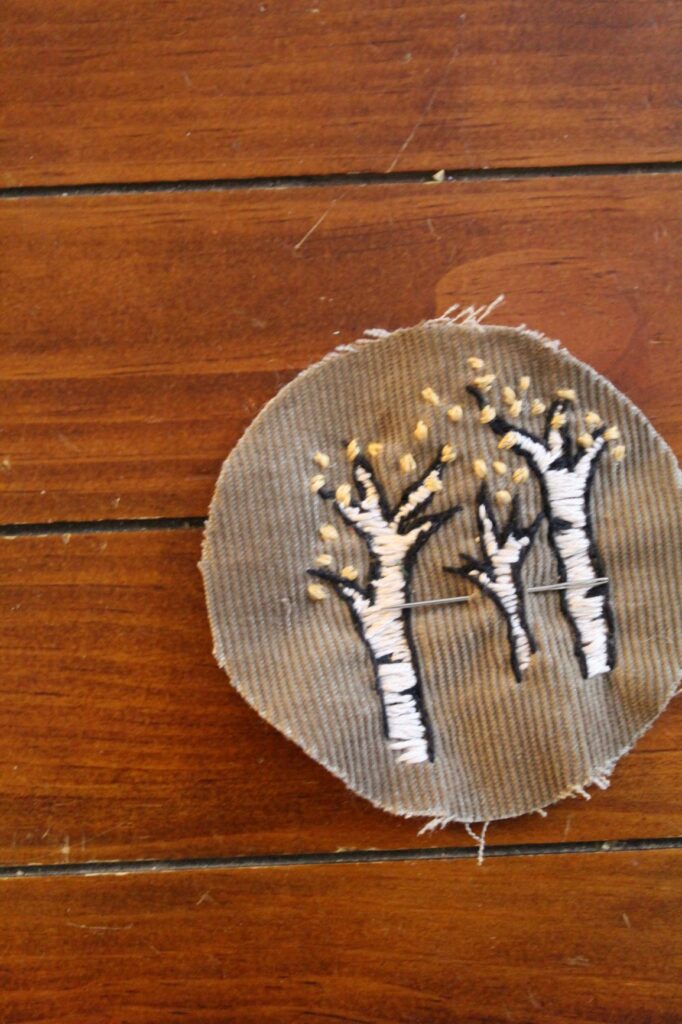
On these coasters I focused on nature scenes/objects, channeling my love for the outdoors. I love the combination of embroidery with the corduroy. It almost feels vintage, although they’re made brand new and I’ve never seen anything like it. Not sure what to call it, but I love it!
To make your own embroidered corduroy coasters all you’ll need is
- Recycled corduroy (I got mine from an old pair of pants)
- Extra spare fabric that you don’t love the look of (fairly thick fabric is preferable)
- Embroidery thread in chosen colors
- Large embroidery sewing needle
- Scissors
- Coaster, bowl, or something else that you can trace to cut your fabric the right size
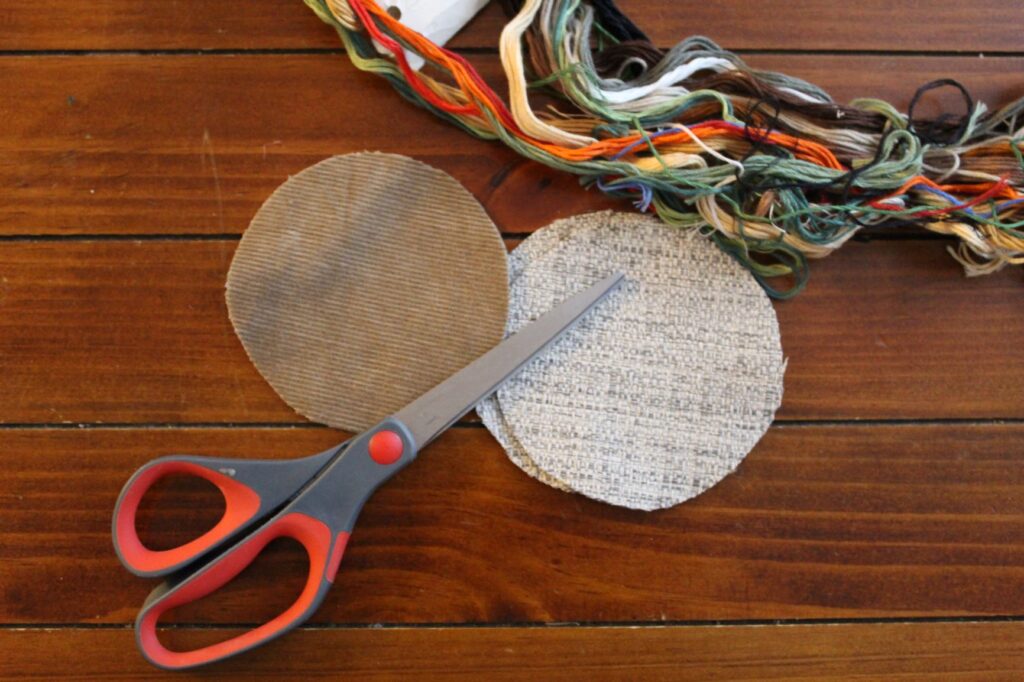
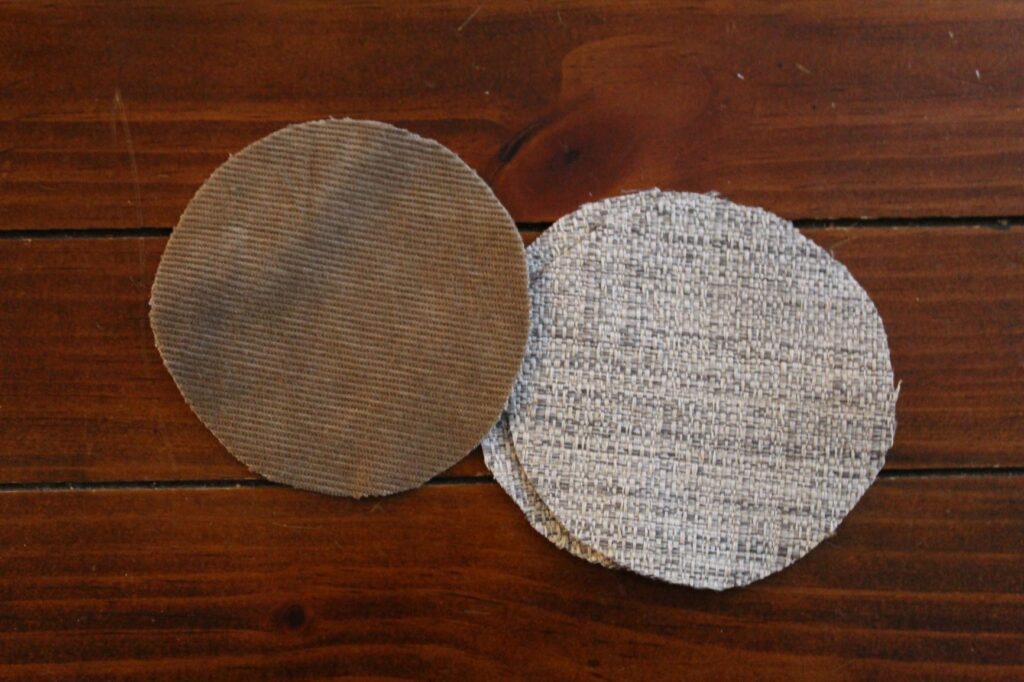
Start by cutting your corduroy to size. You’ll need two circles (or squares) of corduroy for each coaster (front and back). I started by flipping the old pants inside out, then traced around an old coaster up and down the pant leg. I pinned the two sides of pant leg together so they would stay put while I cut out the circles. After cutting, you’ll have two identical circles.
Cut circles from another scrap fabric. Making coasters with just two pieces of corduroy results in a fairly thin coaster. For a thicker coaster, you’ll want to sew an extra piece of fabric between your corduroy pieces. I used the fabric from some old throw pillows!
Take one piece of corduroy and embroider your design. Get creative here and do what appeals to you! I love my nature scenes and you are welcome to use them as reference. You can also try a more geometric design like this one I did.
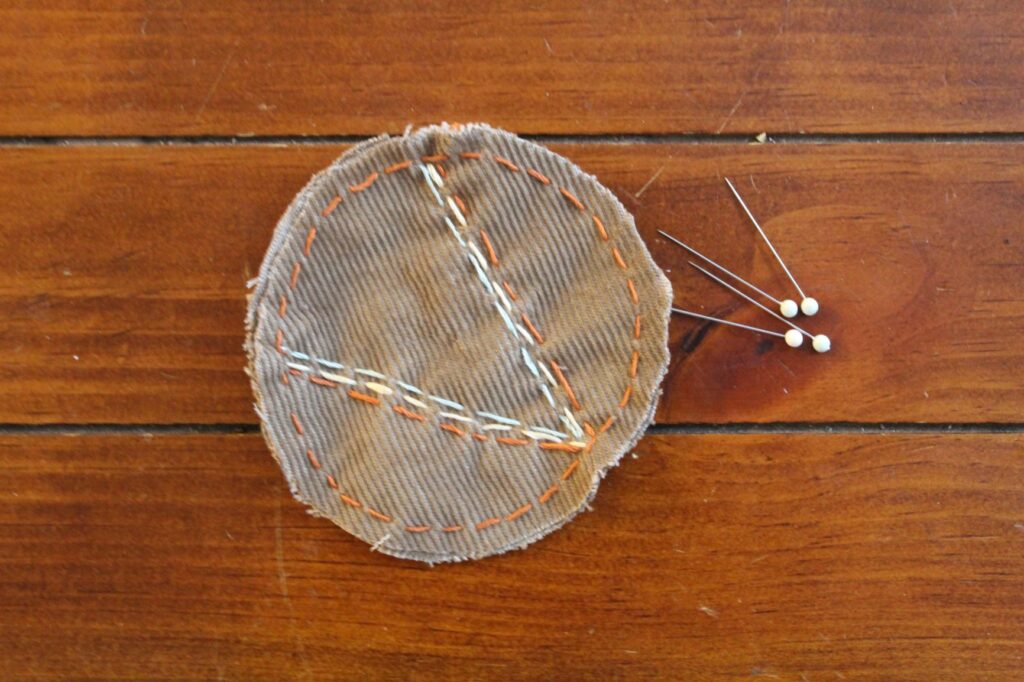
Once you have finished embroidering your design, pin the three pieces of fabric together (corduroy, spare fabric, corduroy) with the corduroy facing out on both the front and back.
Using embroidery thread, stitch around the perimeter of your coaster, stitching the three pieces of fabric together.
And voila! You have a finished (and so darling) corduroy coaster!
If you love the look of this project, don’t forget to save it for when you’re ready to come back! You can also subscribe for updates on more fun upcycled projects like this by joining my mailing list!
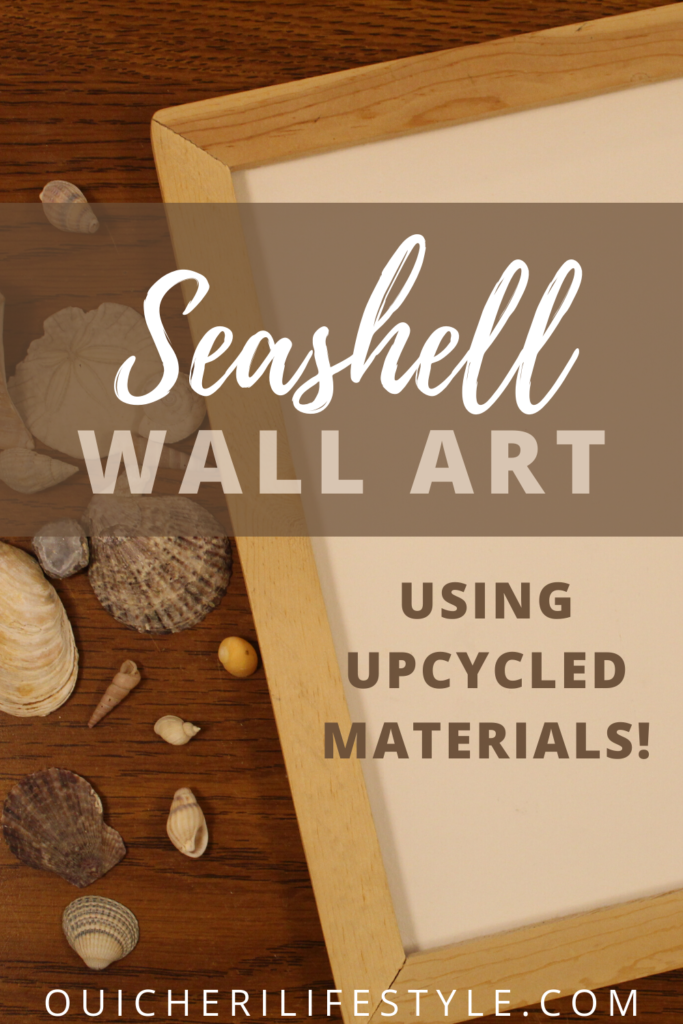
Check out these other fun upcycling projects!
Comments