
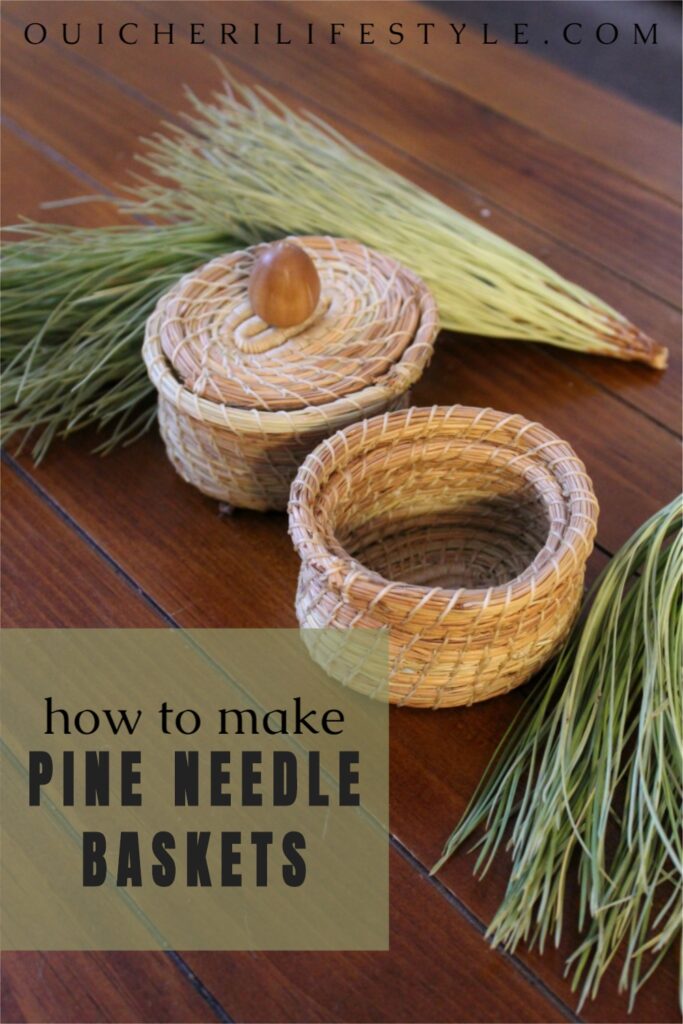
One of my and Carter’s favorite things is finding new projects to work on together. We’ve done wood carving, designed Christmas ornaments, painted with Bob Ross, and lately we’ve gotten into pine needle basket weaving!
How did we get into this unlikely hobby? We came across the tutorial on YouTube and were immediately intrigued. This is just the sort of thing that appeals to us. We love projects that use items we can find in nature. I love bringing elements of nature into our home, and these baskets do just that!
We love working on our pine needle baskets together in the evenings, while watching a movie, listening to an audiobook, or just talking together. A small basket takes several hours of devoted time, but it is sure worth it!
So here’s everything you need to know so you can get started making your own beautiful pine needle basket.
What materials do I need for my woven pine needle basket?
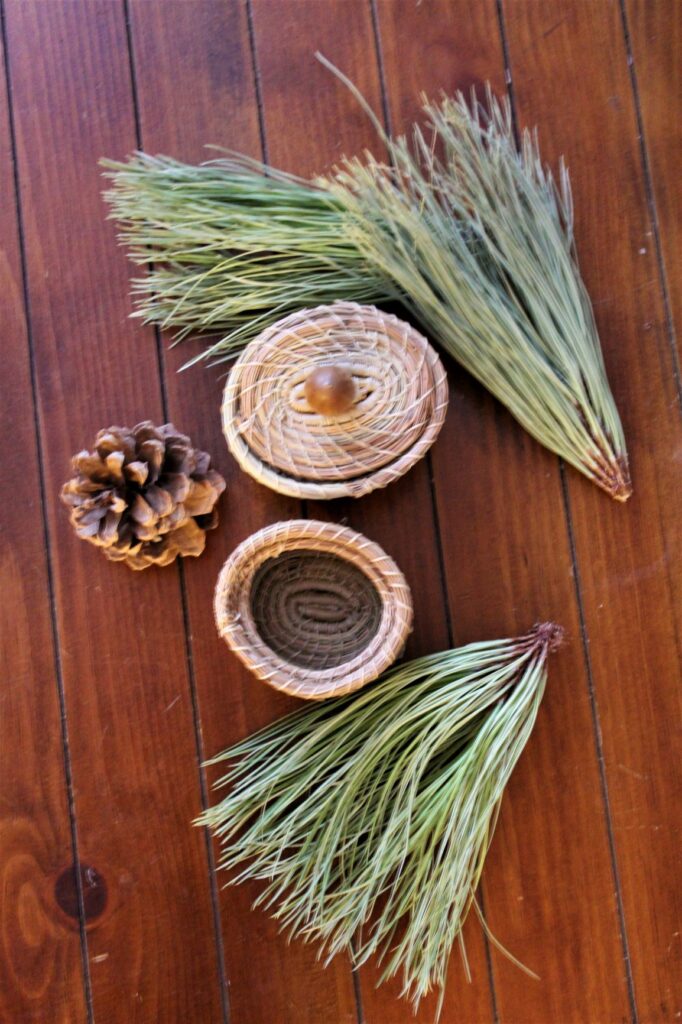
Long pine needles. For us this was ponderosa pine, but there are lots of pine trees that yield long needles. Look around you and try to find the long ones (at least 4 inches). The tiny 1-2 inch ones just won’t work!
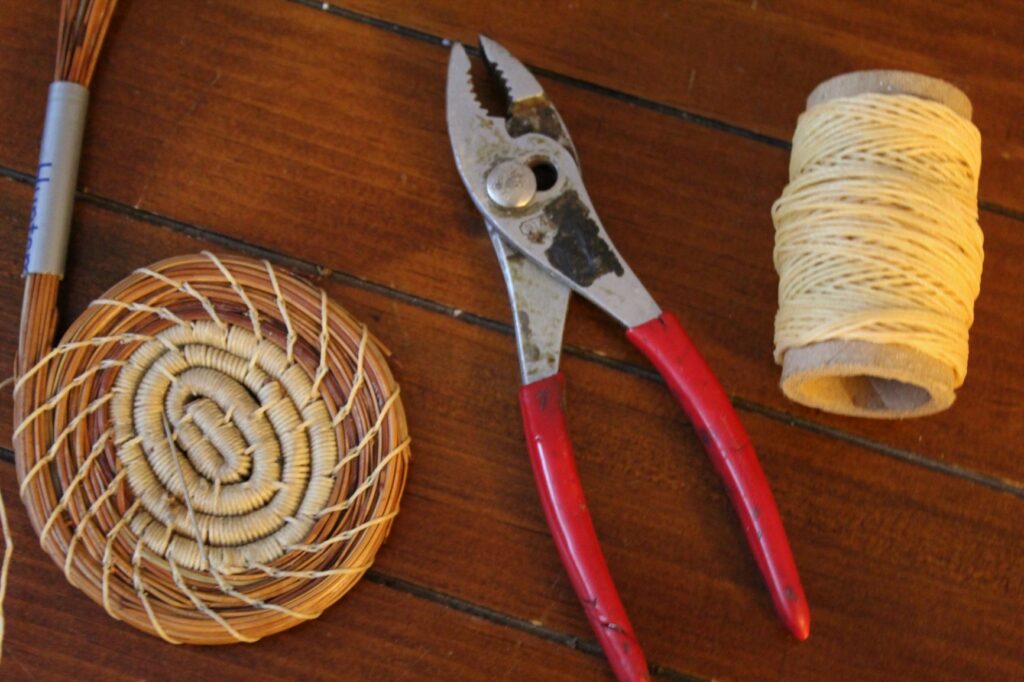
Waxed Thread or Sinew Thread. We found ours at Hobby Lobby in the leather working section (I think I’m finally learning to navigate Hobby Lobby!) I think most craft stores should carry this, although you may want to check beforehand.
Large Sewing Needle. You need something with a big enough hole for the thick thread to go through. A plastic needle like used for yarn projects will NOT work. You need something very sturdy for this project!
Homemade Gage to keep your pine needles bundled (like a piece of paper straw or part of an old pen). More on that in the video below.
Optional:
Plyers to help push the needle through
How to Make your Pine Needle Baskets?
You’ll now use your waxed thread to weave around the pine needles, forming your basket. It’s not too complicated, but it’s much easier if you can see how it’s done. I’ve included the tutorial video we learned from because I think this is the best way to learn exactly what to do.
Some things to note from this video:
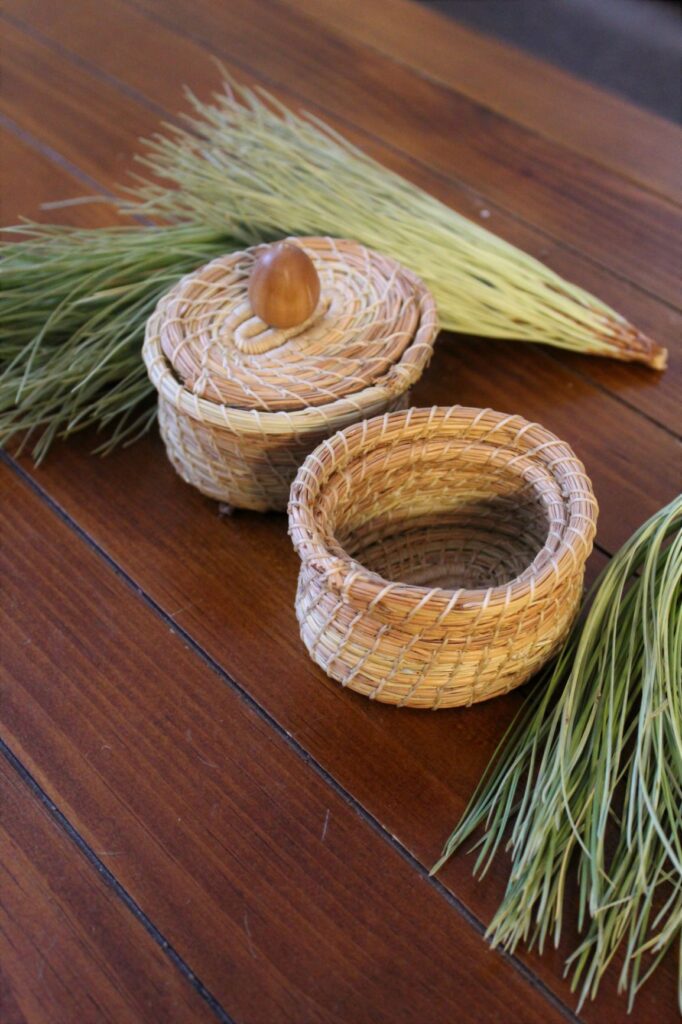
- The way you start your basket will determine the overall shape. Ours were slightly elongated starting out, which made slightly ovular baskets. They still turned out beautiful!
- Collect more than enough needles to begin with. If you collect at different times or from different places, you may see clear color differences in your basket. Mine did this. I think it looks pretty like this, but if you don’t like it, watch out for this!
- Make SURE that your needles are completely dry and not at all green. I thought ours were dry enough, but after collecting more needles to finish, we realized that the first batch of needles was still slightly green. Our baskets are less firm because of this.
- Note the different “V-stitch” she does up the sides of her basket. We didn’t notice this until after finishing our baskets. I think either way looks good, but I want to try the V-stitch next time!
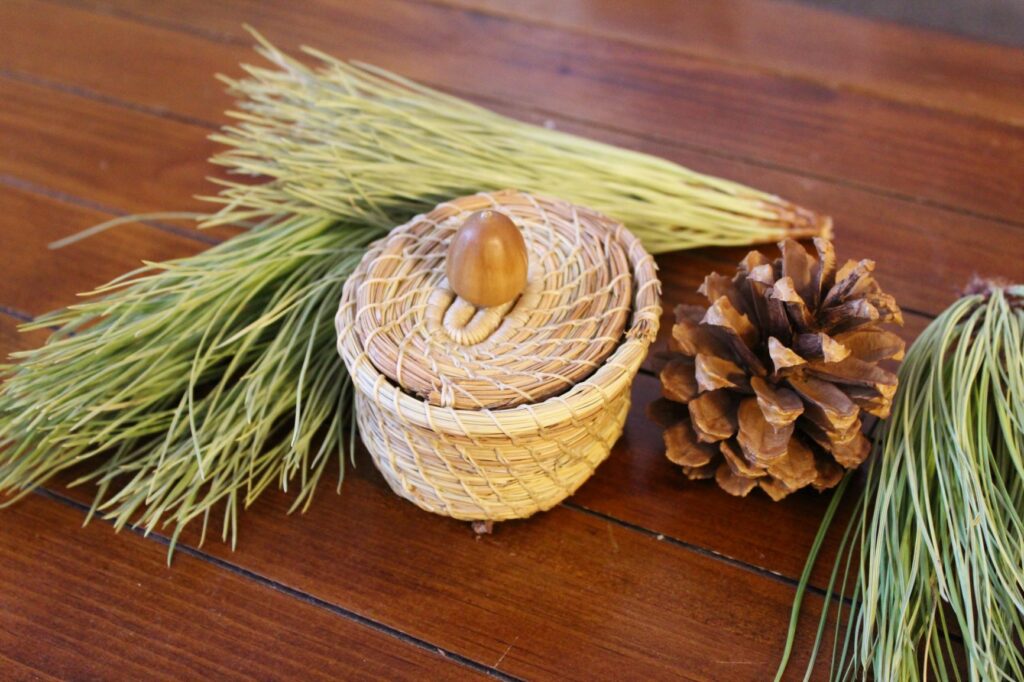
- Feel free to get creative with the shape of your basket and with the handle on the lid. Carter used an acorn for his lid and I love it!
- This does take time! She is shown sitting on a rock or a log the whole time. While the scenery is beautiful, I know I would have been pretty tired after sitting there for that long. I’d recommend sitting somewhere you’ll be comfortable and breaking up the project into multiple weaving sessions!
Hopefully this project has got you as excited as we are about it! Now that we’ve finished our first baskets, Carter is moving on to a larger fruit basket! I’ll let you know how it goes 🙂
What do you think of this project? Let me know in the comments below or tell me what new projects you’re working on!
Do you want to connect more with nature and live more intentionally? Sign up for my email list and stay in the loop on new posts!
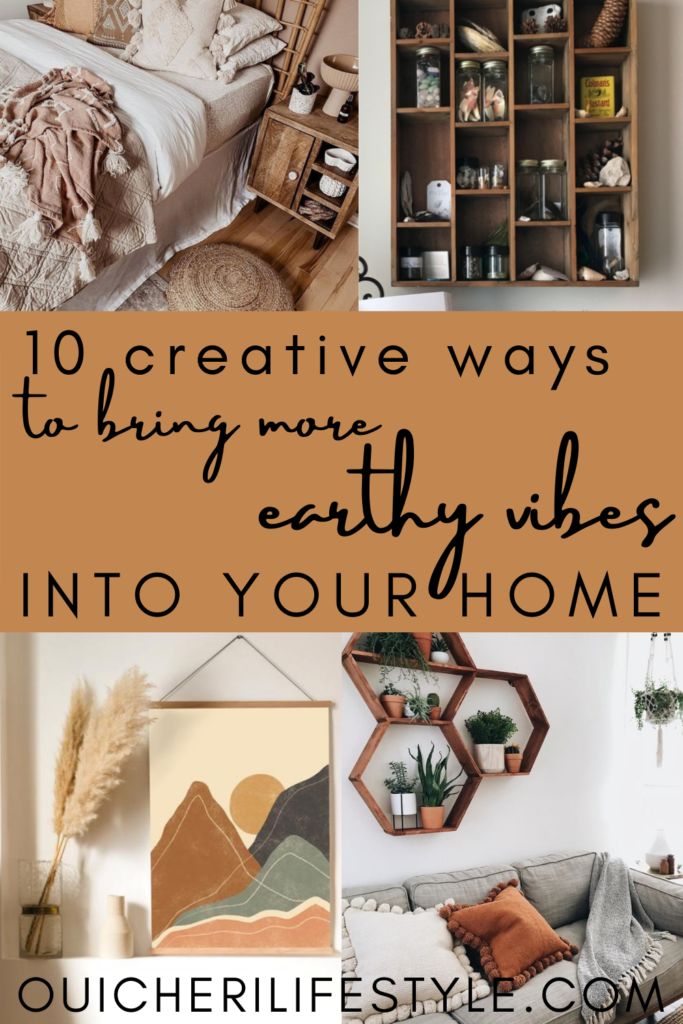
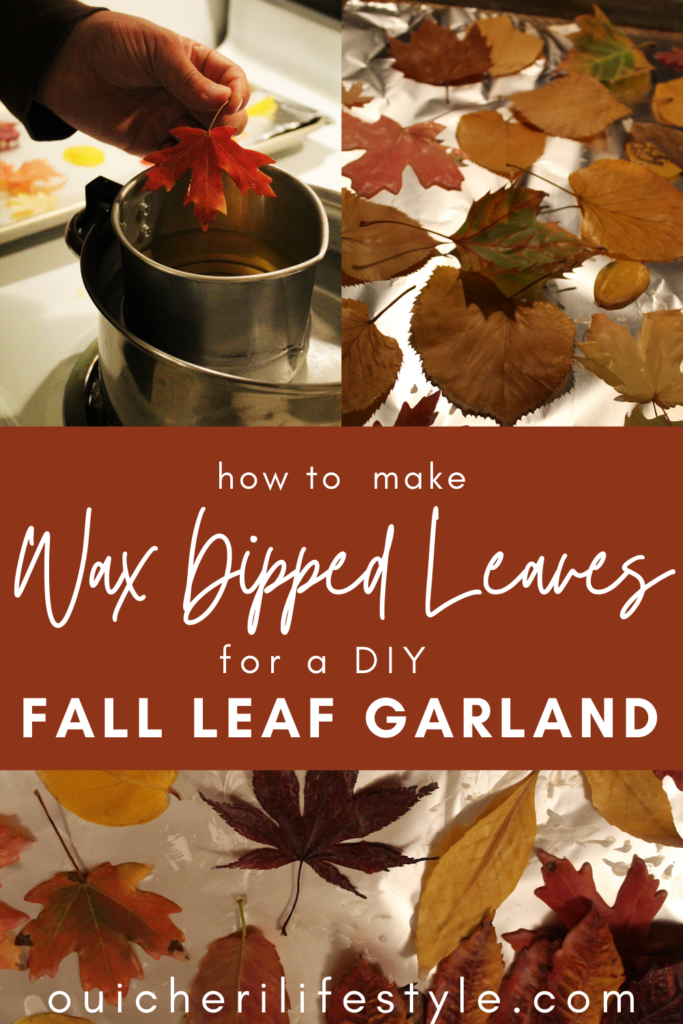
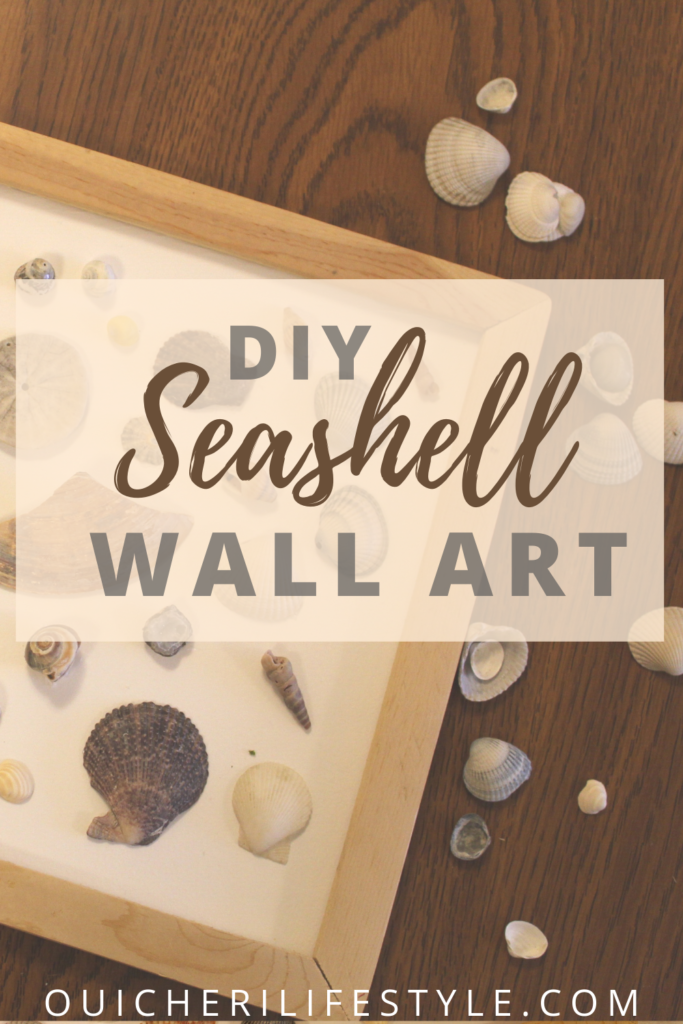
Looking for more ways to bring nature into your home? Try these other posts!
That was so neat to watch. I really hope to try this. Thank you for sharing.
Thanks for sharing! Do they last long?
Ours have held up well ever since we made them about 7 months ago. They look like they’ll continue to last!
This is such a cool idea! What a fun craft for kids to make after foraging too!
I agree! It is such a fun way to get kids involved in nature crafts.